

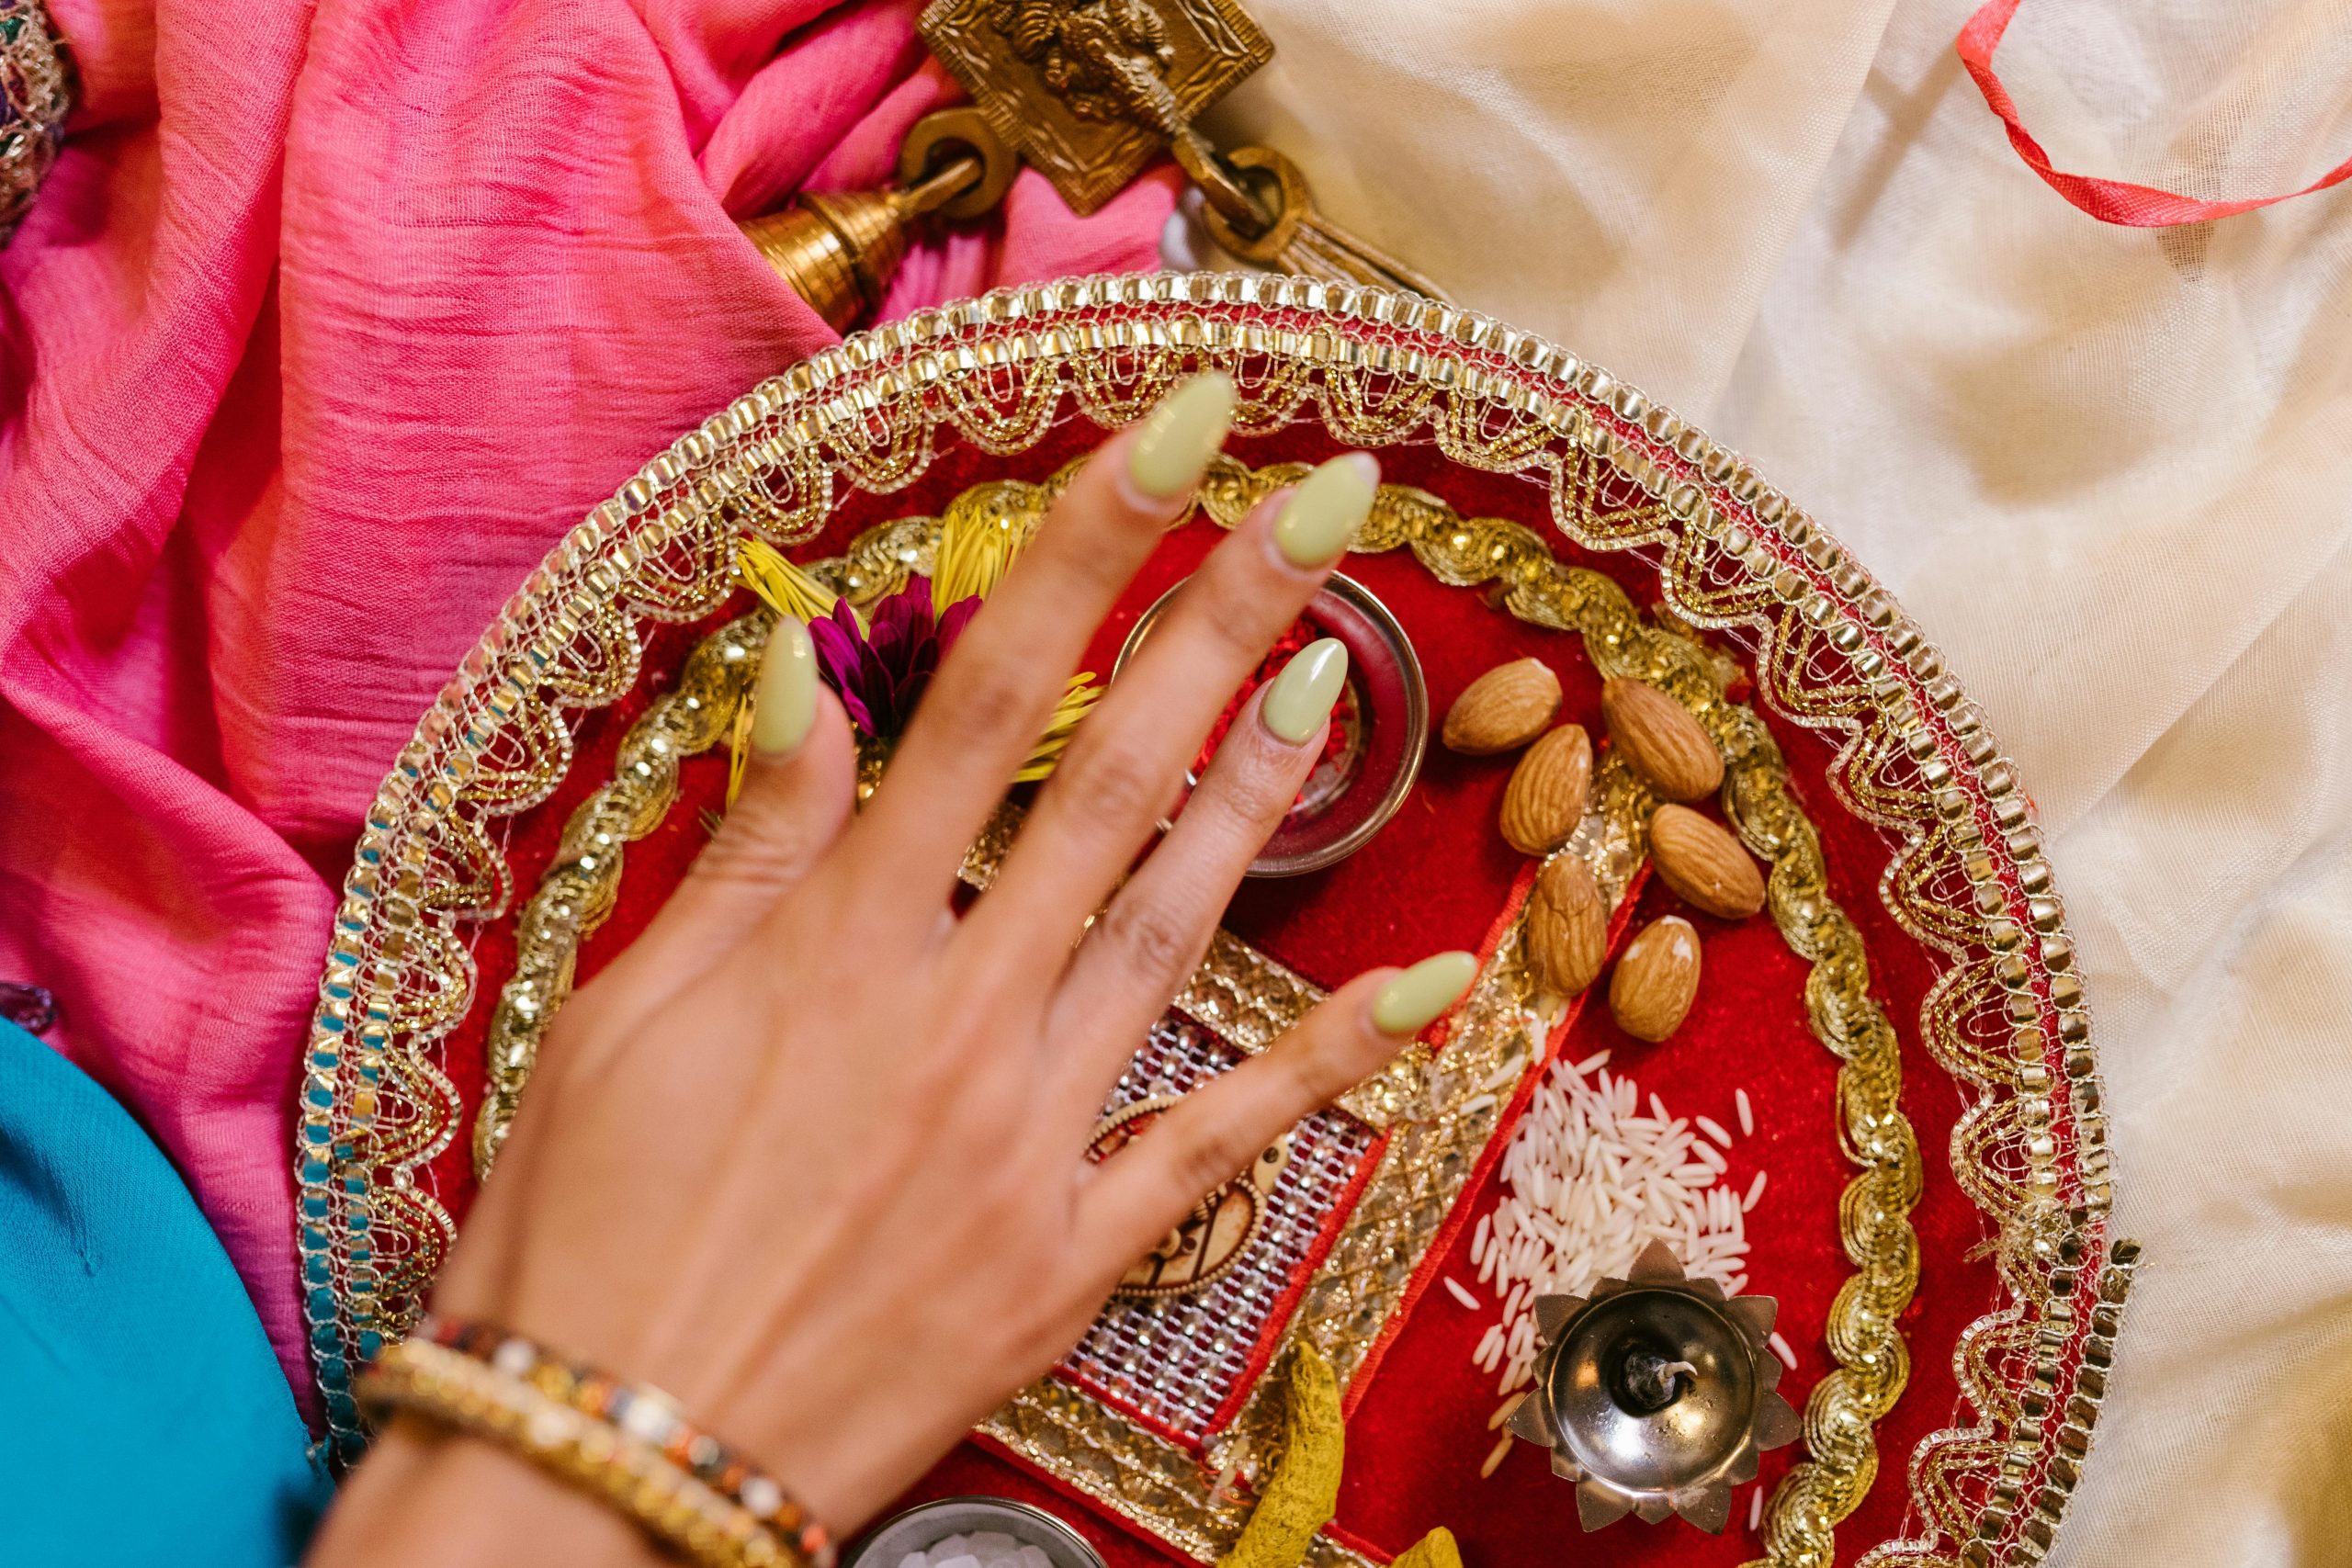
Achieve the ultimate in nail elegance with almond-shaped nails. This style is a timeless classic, offering a smooth and graceful look with its soft curves and elongated tips. The almond shape is versatile, flattering all hand types and adding a touch of sophistication to any outfit.
Essential Tools & Products
- Nail file
- Nail clippers
- Cuticle pusher
- Cuticle oil
- Base coat
- Nude or clear polish
- Top coat
- Nail brush
- Optional: UV lamp for gel polish
Step-by-Step Routine
- Start by ensuring your nails are clean and dry. Trim them to a manageable length, then use a nail file to shape them into an almond form. File gently in one direction, curving the sides slightly and narrowing towards the tip for that iconic almond look.
- Push back your cuticles gently with a cuticle pusher. Moisturize the cuticles with cuticle oil to keep them healthy.
- Apply a thin layer of base coat to each nail. This will protect your nails and help the polish adhere better.
- Choose a nude or clear polish for a natural, elegant look. Apply a thin coat, following the curve of your nails. Allow it to dry completely.
- Add a second coat of polish for an even, flawless finish. If using regular nail polish, finish with a top coat to seal and protect your design. For a longer-lasting manicure, consider using gel polish and curing it under a UV lamp.
- If you opt for gel polish, remember to apply a thin layer of base coat before each coat of color and finish with a top coat. Cure each layer under the UV lamp as per the product instructions.
- Clean up any polish that may have gotten on your skin with a nail brush and polish remover. Be careful not to damage your cuticles.
- Finally, moisturize your hands and cuticles with cuticle oil or hand cream to complete the look.
With these simple steps, you can achieve a beautiful almond nail shape at home. This style is versatile and can be dressed up or down, making it a great choice for any occasion.