

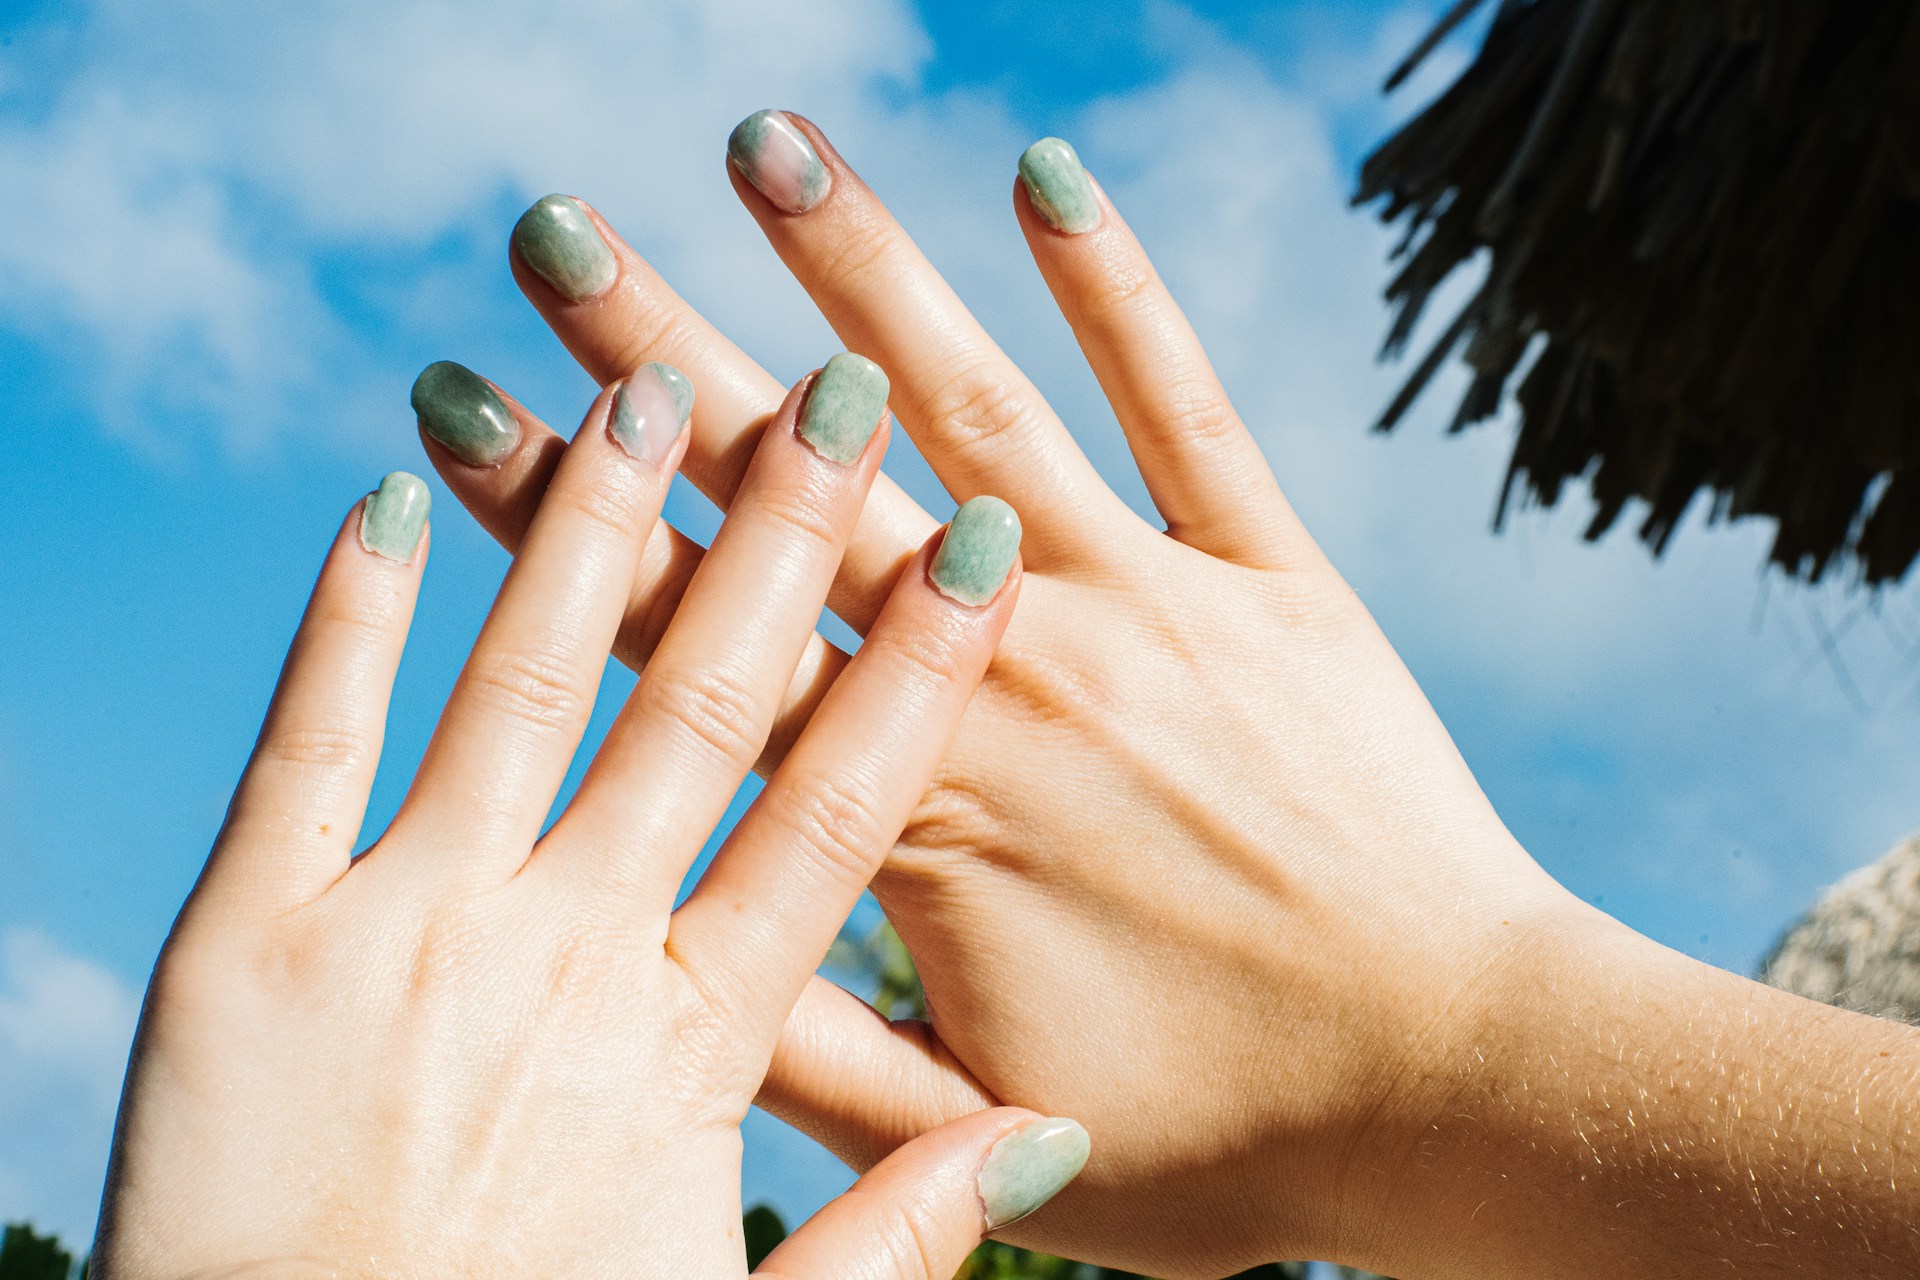
Achieve a luxurious and elegant look with marble nails, a timeless trend that adds a touch of sophistication to your fingertips. The glossy, smooth surface and intricate stone lines create a flawless, natural effect, making this style a popular choice for those seeking a unique and chic manicure.
Essential Tools & Products:
- Nail file
- Nail buffer
- Base coat
- White nail polish
- Grey nail polish
- Black nail art pen or thin brush
- Top coat
- Cuticle oil
- UV lamp (optional, for faster drying)
Step-by-Step Routine:
- Prepare your nails by filing them into your preferred shape and gently buffing the surface.
- Apply a thin layer of base coat to protect your nails and create a smooth canvas.
- Paint your nails with a white polish as a base color, ensuring full coverage.
- Using a grey polish, create thin, random lines across the nail, mimicking marble veins. Allow some space between lines and vary the thickness for a natural effect.
- With a black nail art pen or thin brush, carefully outline the grey lines and add small dots or dashes to create a realistic stone texture.
- Seal your design with a top coat, being careful not to smudge the polish.
- Finish by applying cuticle oil to moisturize and nourish the nail area.
- If you’re in a hurry, use a UV lamp to speed up the drying process and ensure a long-lasting manicure.
With these simple steps, you can achieve a stunning marble nail design that will surely impress. The combination of glossy polish and intricate stone lines creates a unique and elegant look, perfect for any occasion. Feel free to experiment with different shades of grey and black to find the perfect marble effect for your style.