

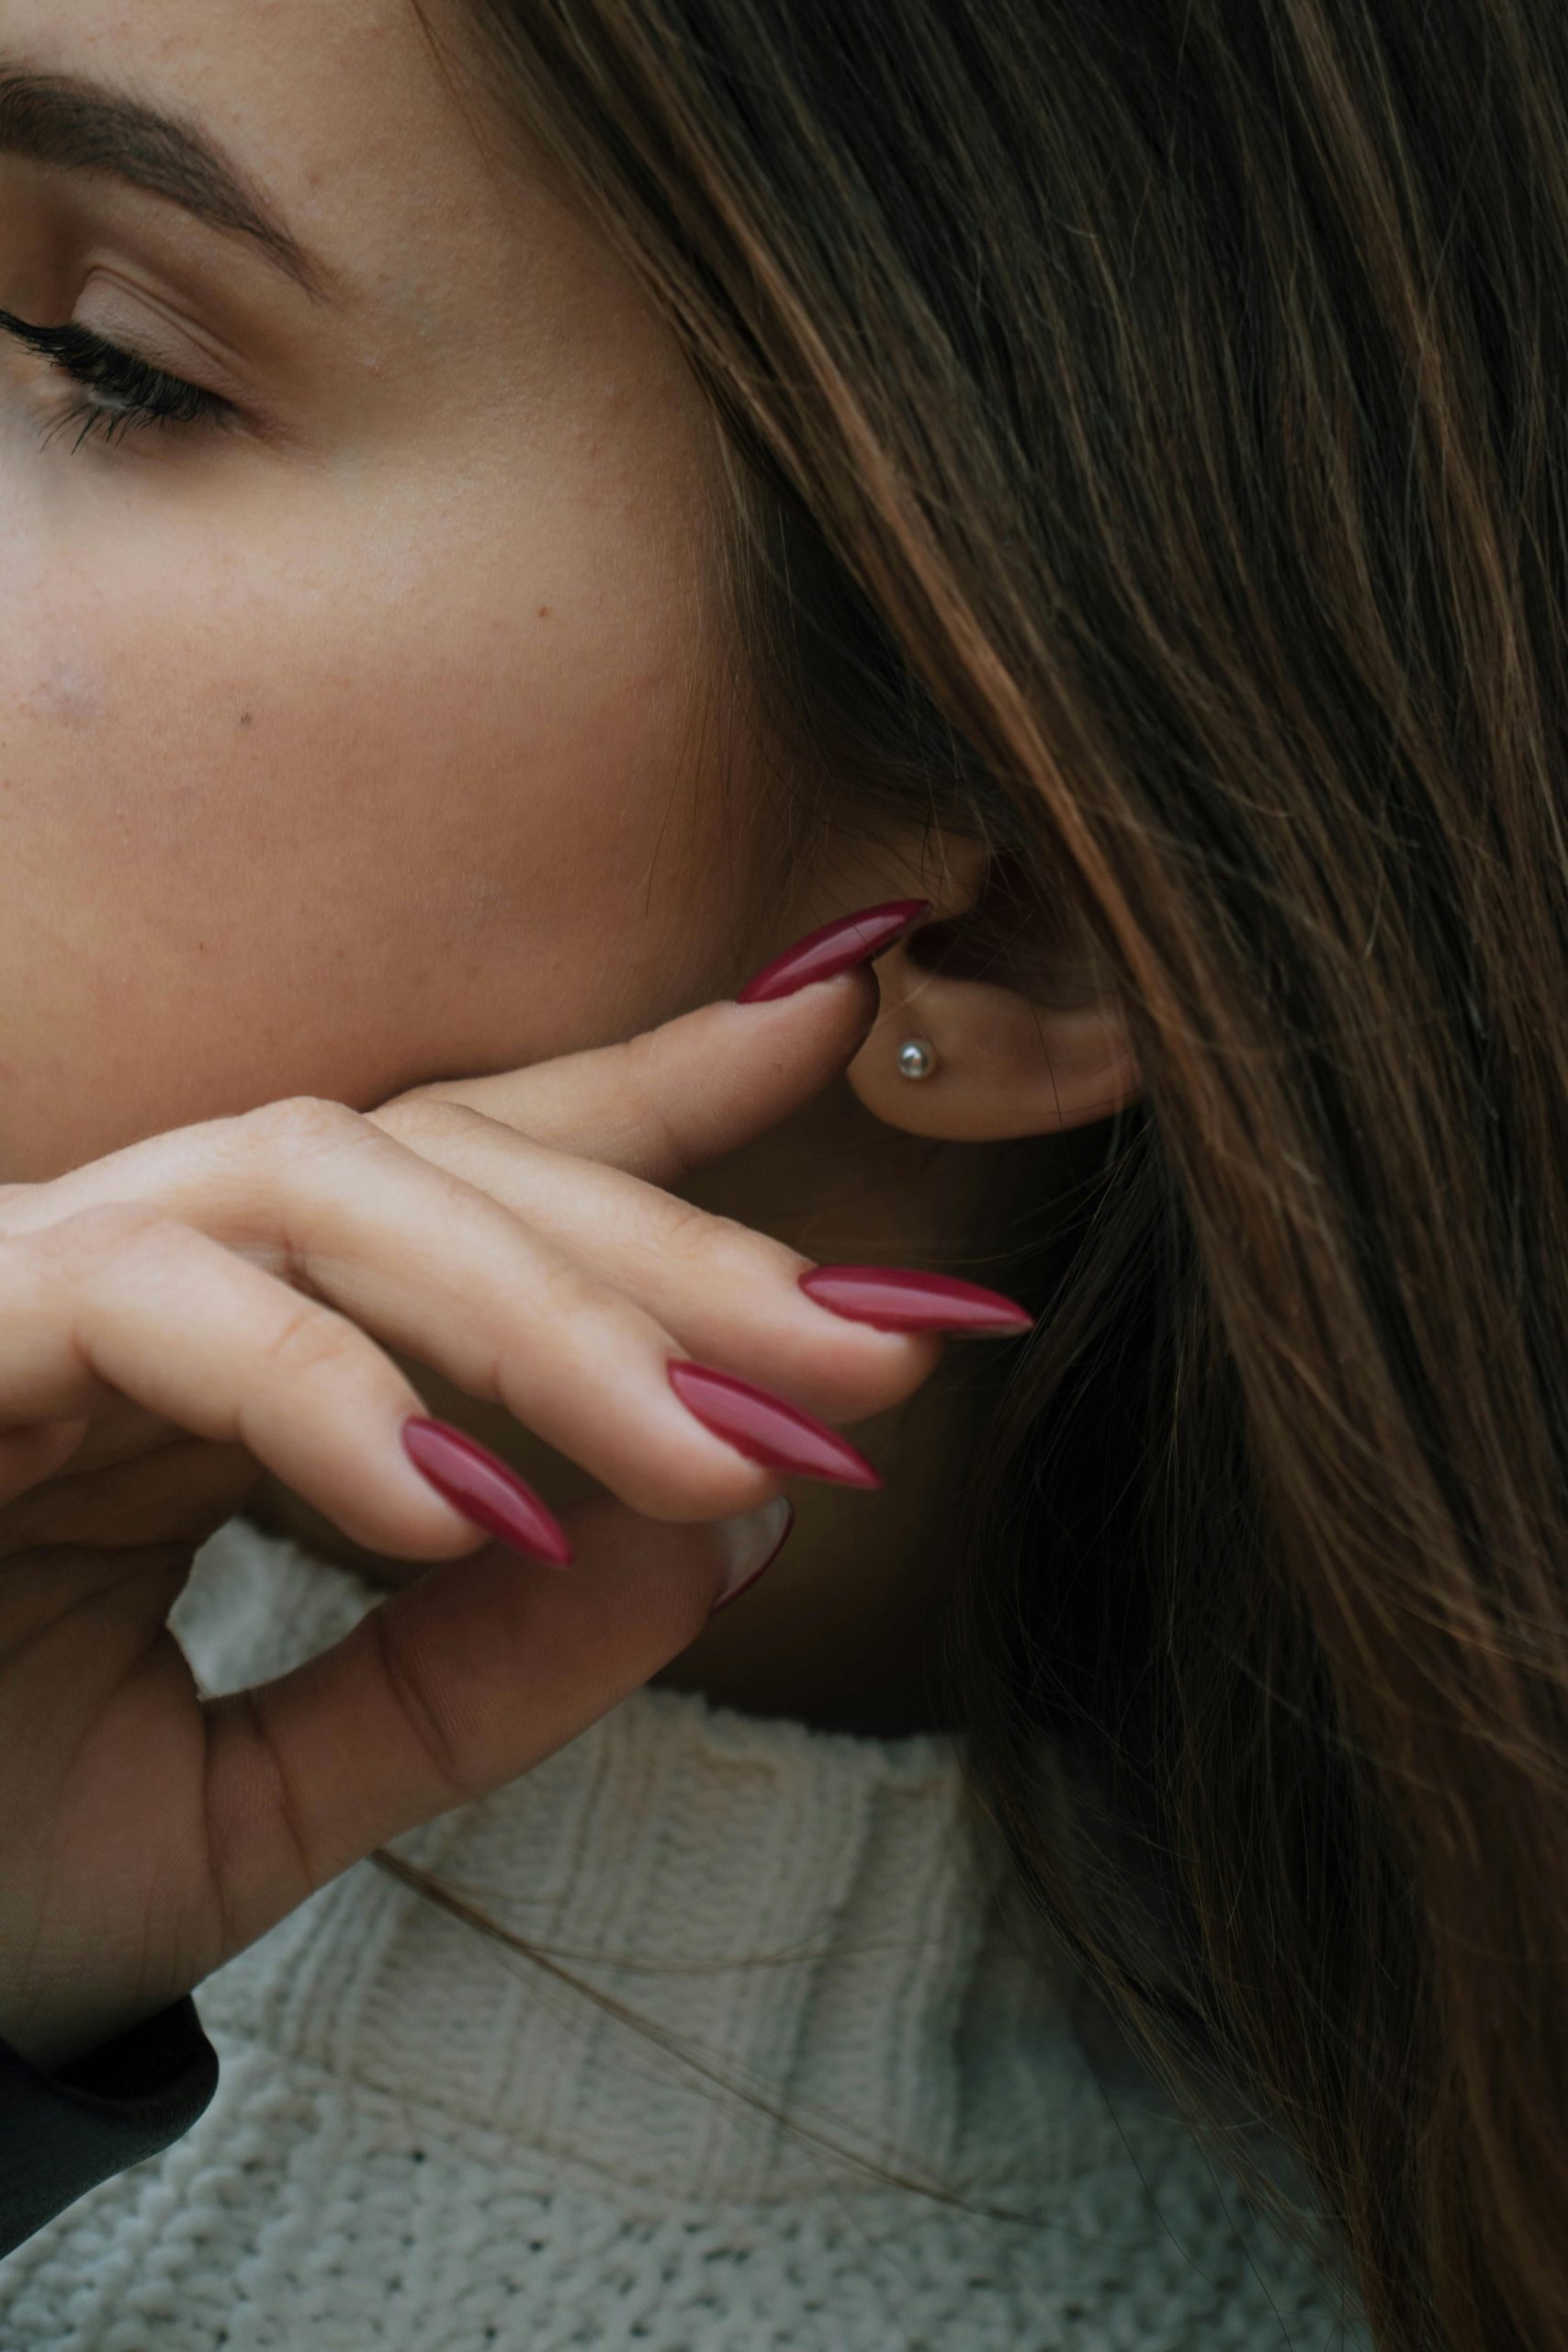
Achieve a timeless look with pearl nails, a classic style that exudes elegance and sophistication. This nail art trend features a soft, luminous shine and a clean, detailed finish. The subtle iridescence adds depth and dimension, creating a polished and refined appearance. Pearl nails are versatile, complementing various outfits and occasions, from casual days to formal events.
Essential Tools & Products:
- Nail file
- Nail buffer
- Cuticle pusher
- Cuticle oil
- Base coat
- Pearl-finish nail polish in your chosen shade
- Top coat
- Nail polish remover
- Cotton pads
- UV lamp (optional, if using gel polish)
Step-by-Step Routine:
- Start by shaping your nails with a file. Go for a natural oval or almond shape to enhance the elegance of the pearl finish.
- Buff the nail surface gently to create a smooth canvas. This step ensures the polish adheres well and gives a flawless finish.
- Push back your cuticles and trim any excess skin. Apply cuticle oil to moisturize and nourish the nail bed.
- Clean your nails with nail polish remover to remove any oils or residue. This step helps the base coat and polish bond better.
- Apply a thin layer of base coat to protect your nails and create a smooth surface for the polish.
- Choose a pearl-finish nail polish in your desired shade. Apply a thin coat, ensuring even coverage. Allow it to dry completely.
- Add a second coat for full opacity and a more intense pearl effect. Be careful not to overload the brush to avoid bubbling.
- Seal your design with a top coat to enhance shine and protect the polish. A quick-dry top coat can speed up the process.
- If using gel polish, cure your nails under a UV lamp according to the manufacturer’s instructions.
- Finish by cleaning up any polish that may have gotten on your skin with a small brush or cotton swab dipped in nail polish remover.
With these simple steps, you can achieve a pearl nail look that is both classic and trendy. The soft shine and clean detail of this style make it a versatile choice for any nail enthusiast.