

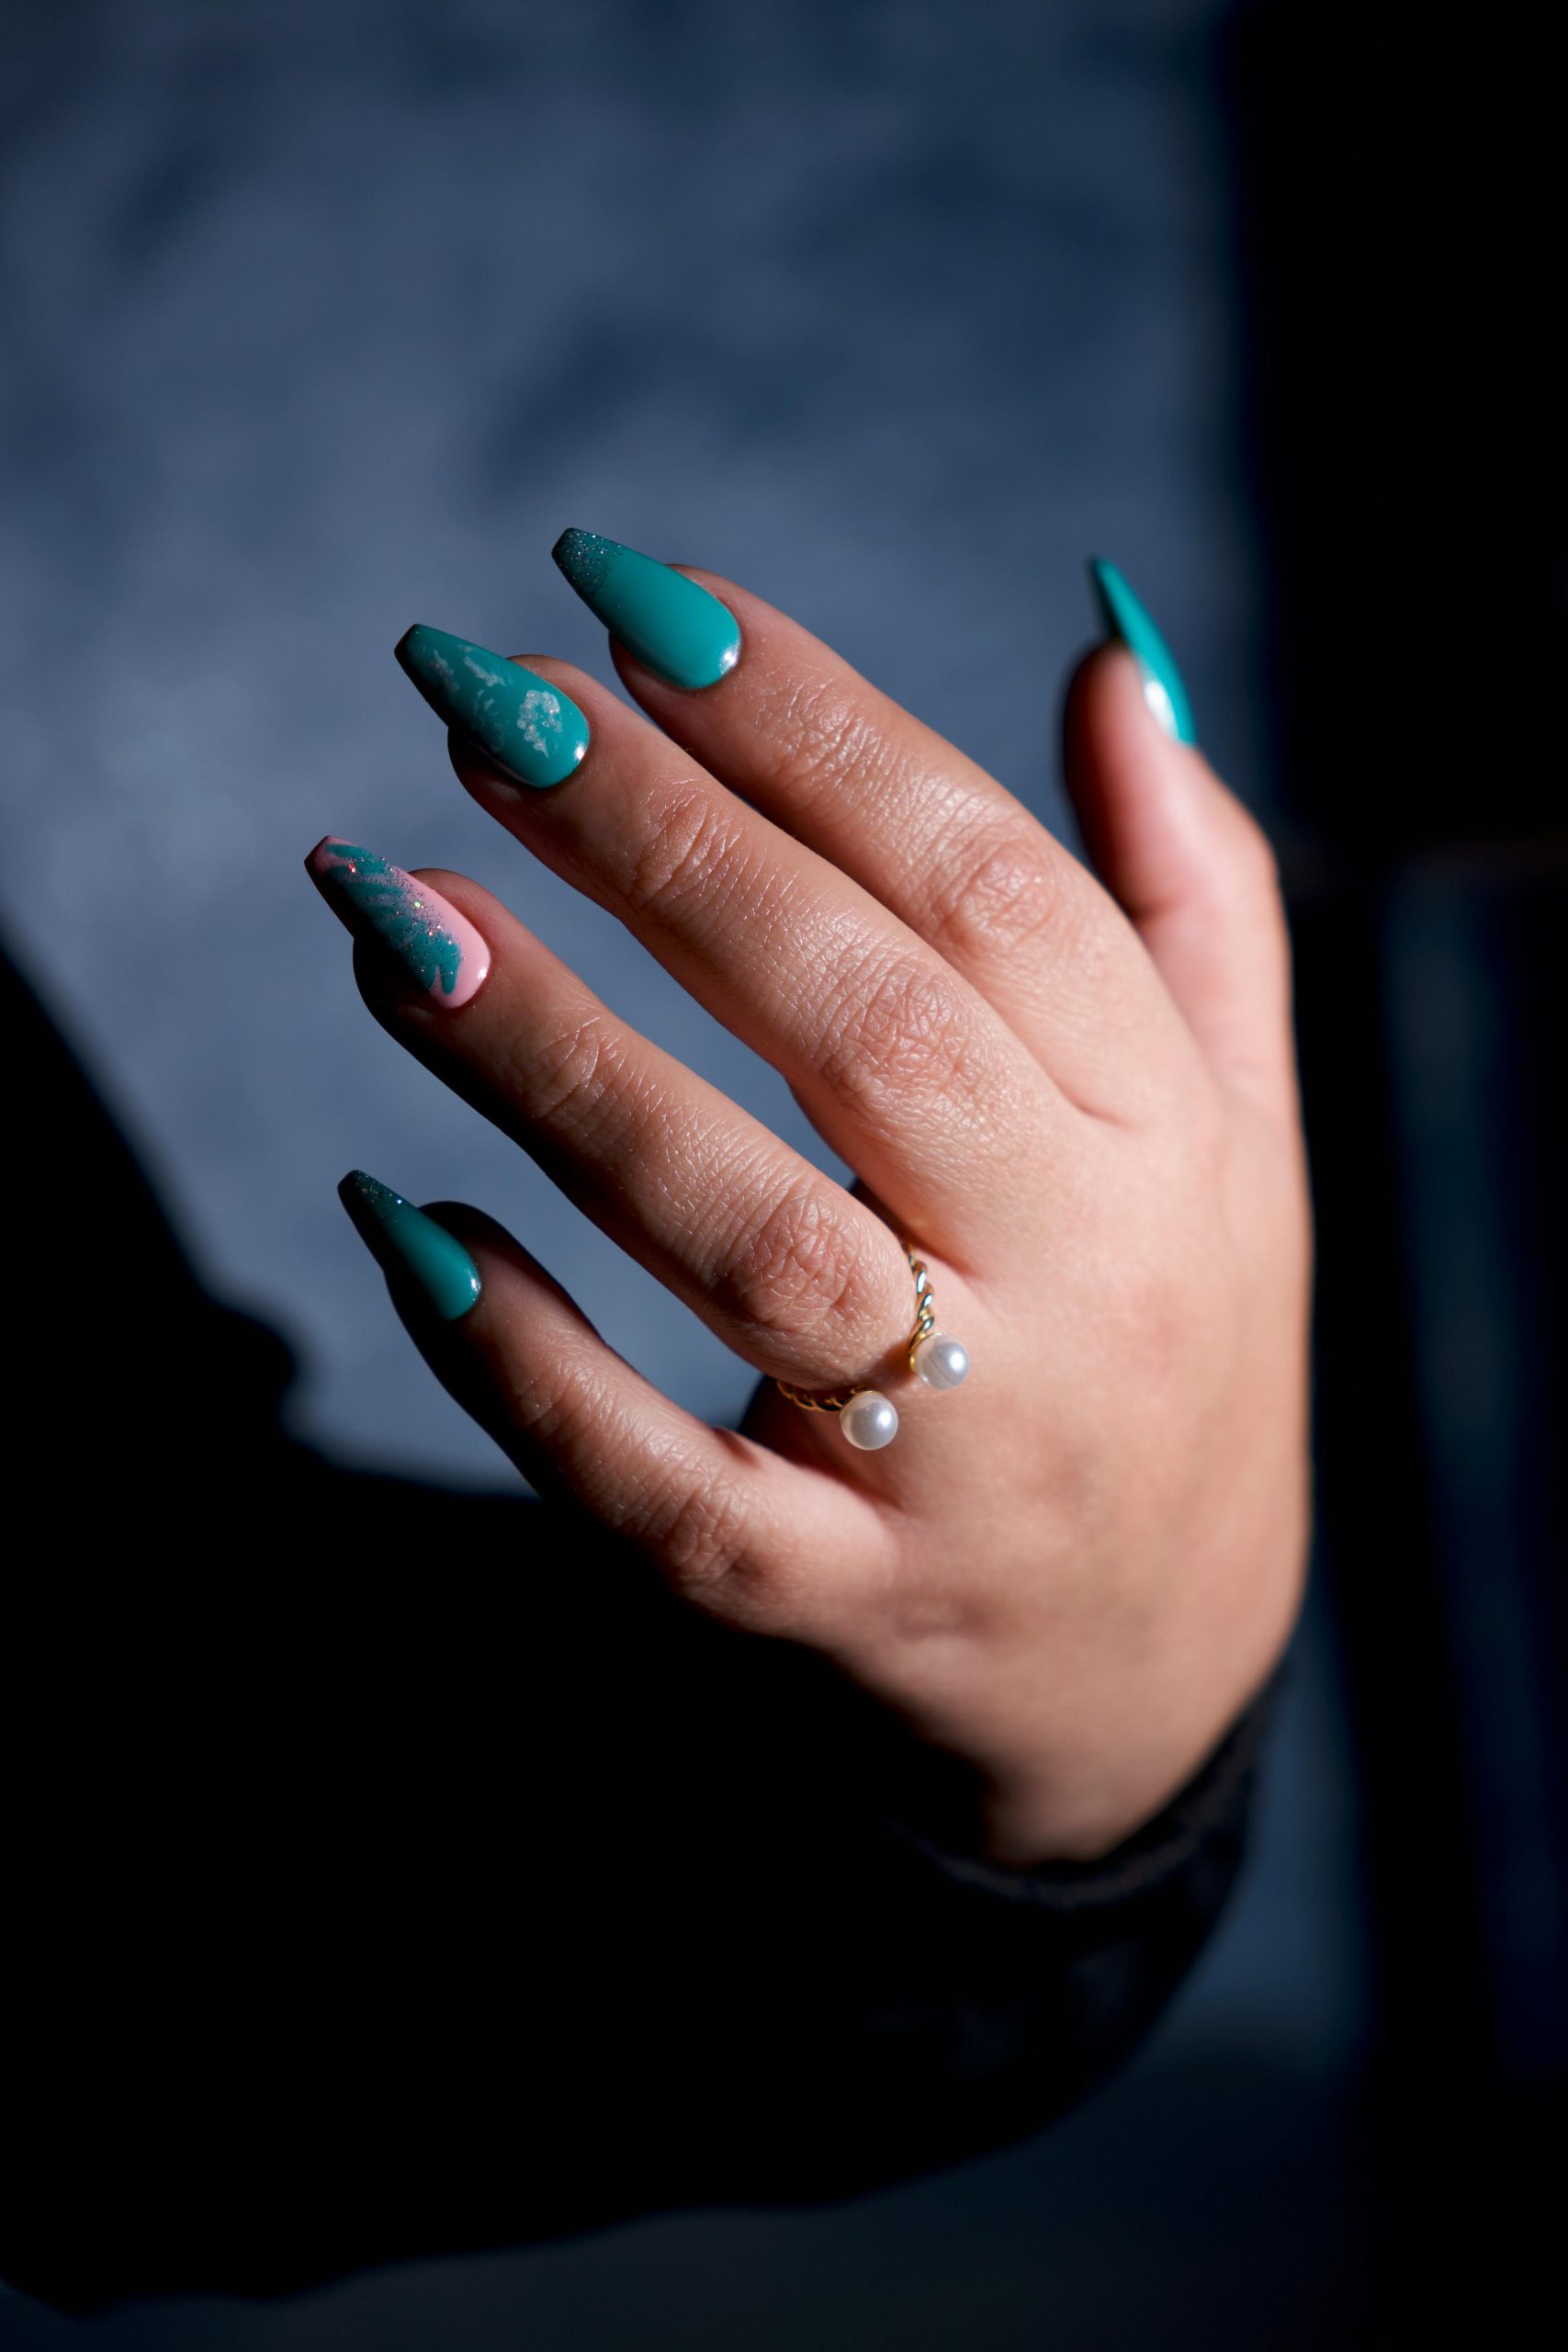
Prom night is a special occasion to celebrate with a glamorous look, and your nails can be a stunning accessory to complement your style. Achieve a flawless, glossy manicure with elegant details to make a statement and ensure your hands look picture-perfect for the big night.
Essential Tools & Products:
- Nail file
- Nail buffer
- Cuticle pusher
- Cuticle oil
- Base coat
- Color nail polish of your choice (consider a glossy finish for extra shine)
- Top coat
- Dotting tool or toothpick
- Nail art brush (optional)
- Nail art stickers or gems (optional)
- UV lamp (if using gel polish)
Step-by-Step Routine:
- Start by shaping your nails with a file. Go for a classic oval or almond shape for a sophisticated look.
- Buff the nail surface gently to create a smooth canvas.
- Push back your cuticles and moisturize with cuticle oil.
- Apply a thin layer of base coat to protect your nails and ensure a smooth application.
- Choose your desired color and apply two thin coats, allowing each layer to dry completely. Consider a glossy shade to achieve that shiny, elegant finish.
- For an extra touch of glamour, add a simple nail art design. Use a dotting tool or toothpick to create small dots or lines with a contrasting color. You can also use a nail art brush for more intricate designs.
- If you’re feeling creative, add some nail art stickers or small gems for a unique, personalized look.
- Seal your design with a top coat to protect it and add shine. For a long-lasting manicure, consider using a gel top coat and curing it under a UV lamp.
- Finish by cleaning up any polish that may have gotten on your skin with a small brush or cotton swab dipped in nail polish remover.
With these simple steps, you can create a beautiful, glossy manicure with elegant details that will surely turn heads at prom. Remember, practice makes perfect, so give yourself enough time to master the technique and create a flawless look.