

Achieving the perfect manicure is an art, and polygel nails offer a unique blend of style and durability. This innovative technique creates a lightweight, natural feel with a strong shape that resists chipping and breakage. Polygel nails are an excellent choice for those seeking a long-lasting, elegant look.
Essential Tools & Products
- Polygel nail kit: This typically includes a tube of polygel, a slip solution, and a dual-ended brush for application.
- Nail tips: Choose the size and shape that suit your desired look.
- Nail file and buffer: For shaping and smoothing the nails.
- LED or UV lamp: Essential for curing the polygel and ensuring a quick-drying process.
- Top and base coats: To protect the nails and add shine.
- Nail cleanser and cuticle oil: To maintain nail health and keep the cuticles hydrated.
Step-by-Step Routine
- Prepare your nails by gently pushing back the cuticles and shaping them to your desired length. Use the nail file to create a smooth surface.
- Apply a thin layer of base coat to each nail and cure it under the lamp according to the product’s instructions.
- Select the appropriate nail tip size and apply a small amount of slip solution to the nail bed.
- Using the brush, pick up a small amount of polygel and apply it to the nail bed, extending it slightly beyond the tip. Shape the polygel to cover the entire nail, creating a smooth surface.
- Cure the polygel in the lamp, ensuring it hardens completely.
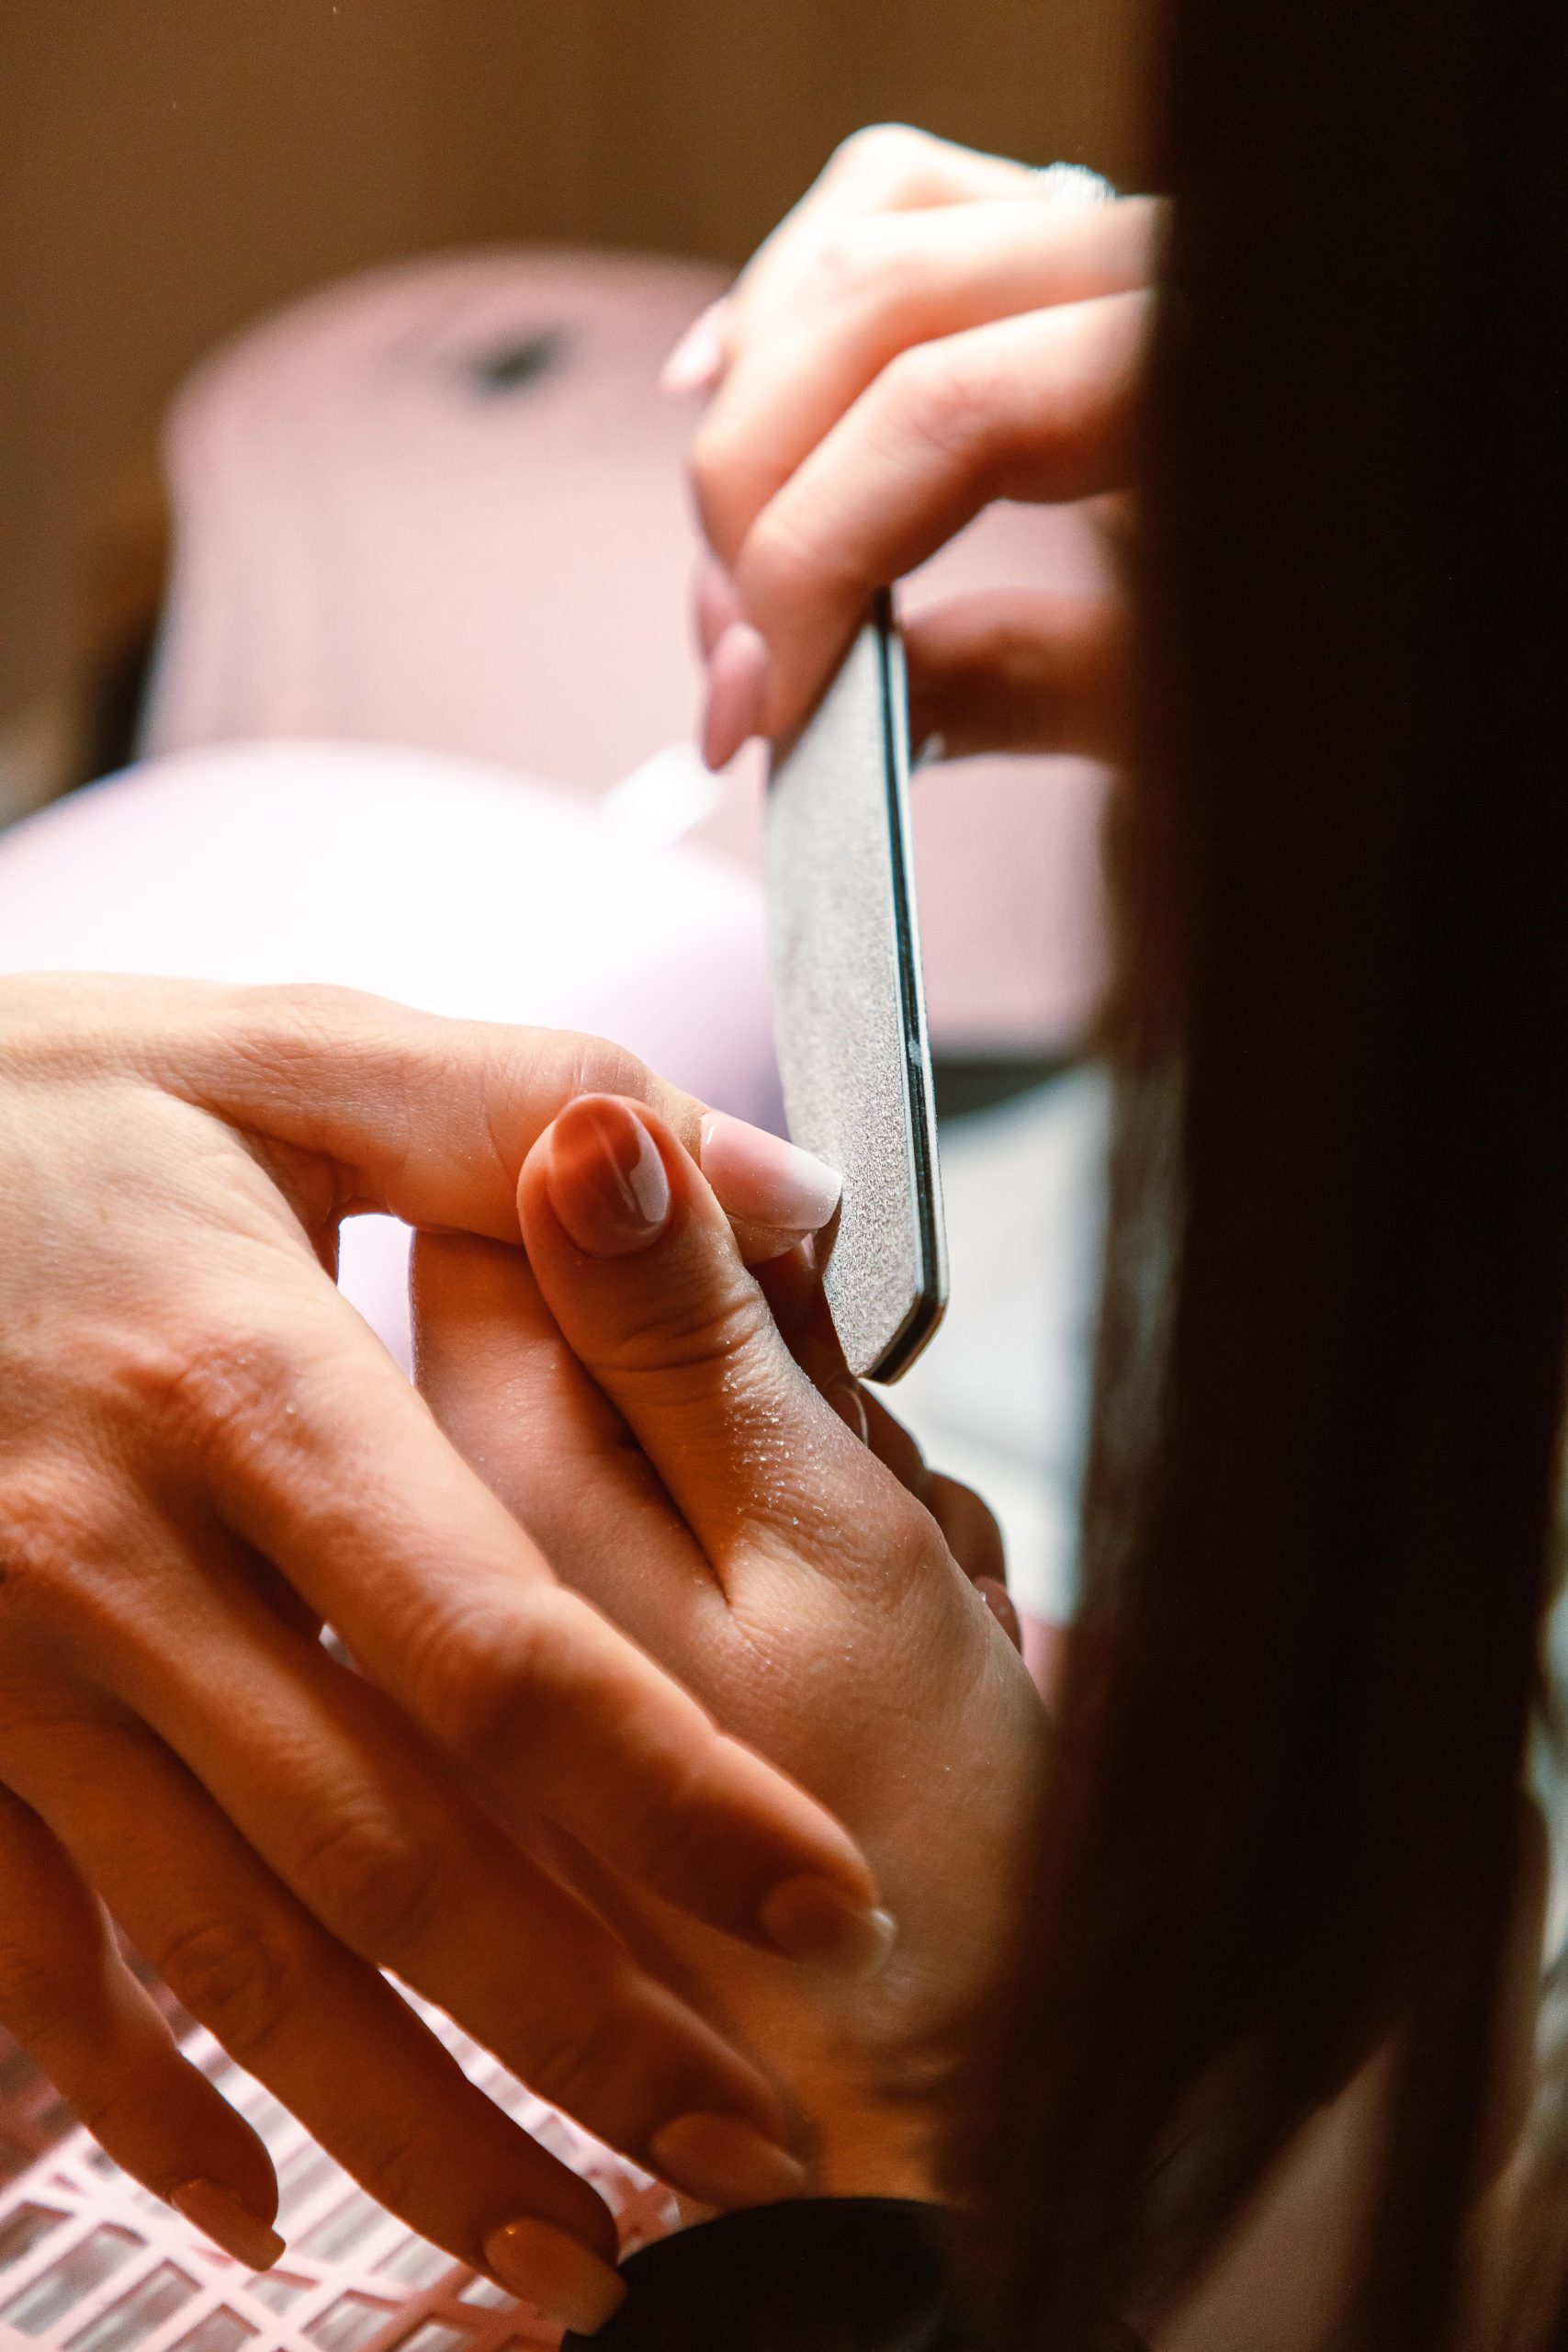
- File and shape the nails to your preferred style, then buff the surface to remove any imperfections.
- Wipe the nails with cleanser to remove any residue and apply a thin layer of top coat, curing it in the lamp.
- Finish by massaging cuticle oil into the nail beds to moisturize and nourish the skin.
With these steps, you can achieve a professional-looking polygel manicure at home. The lightweight feel and strong shape of polygel nails offer a comfortable and durable alternative to traditional acrylics, allowing you to enjoy long-lasting, flawless nails.