

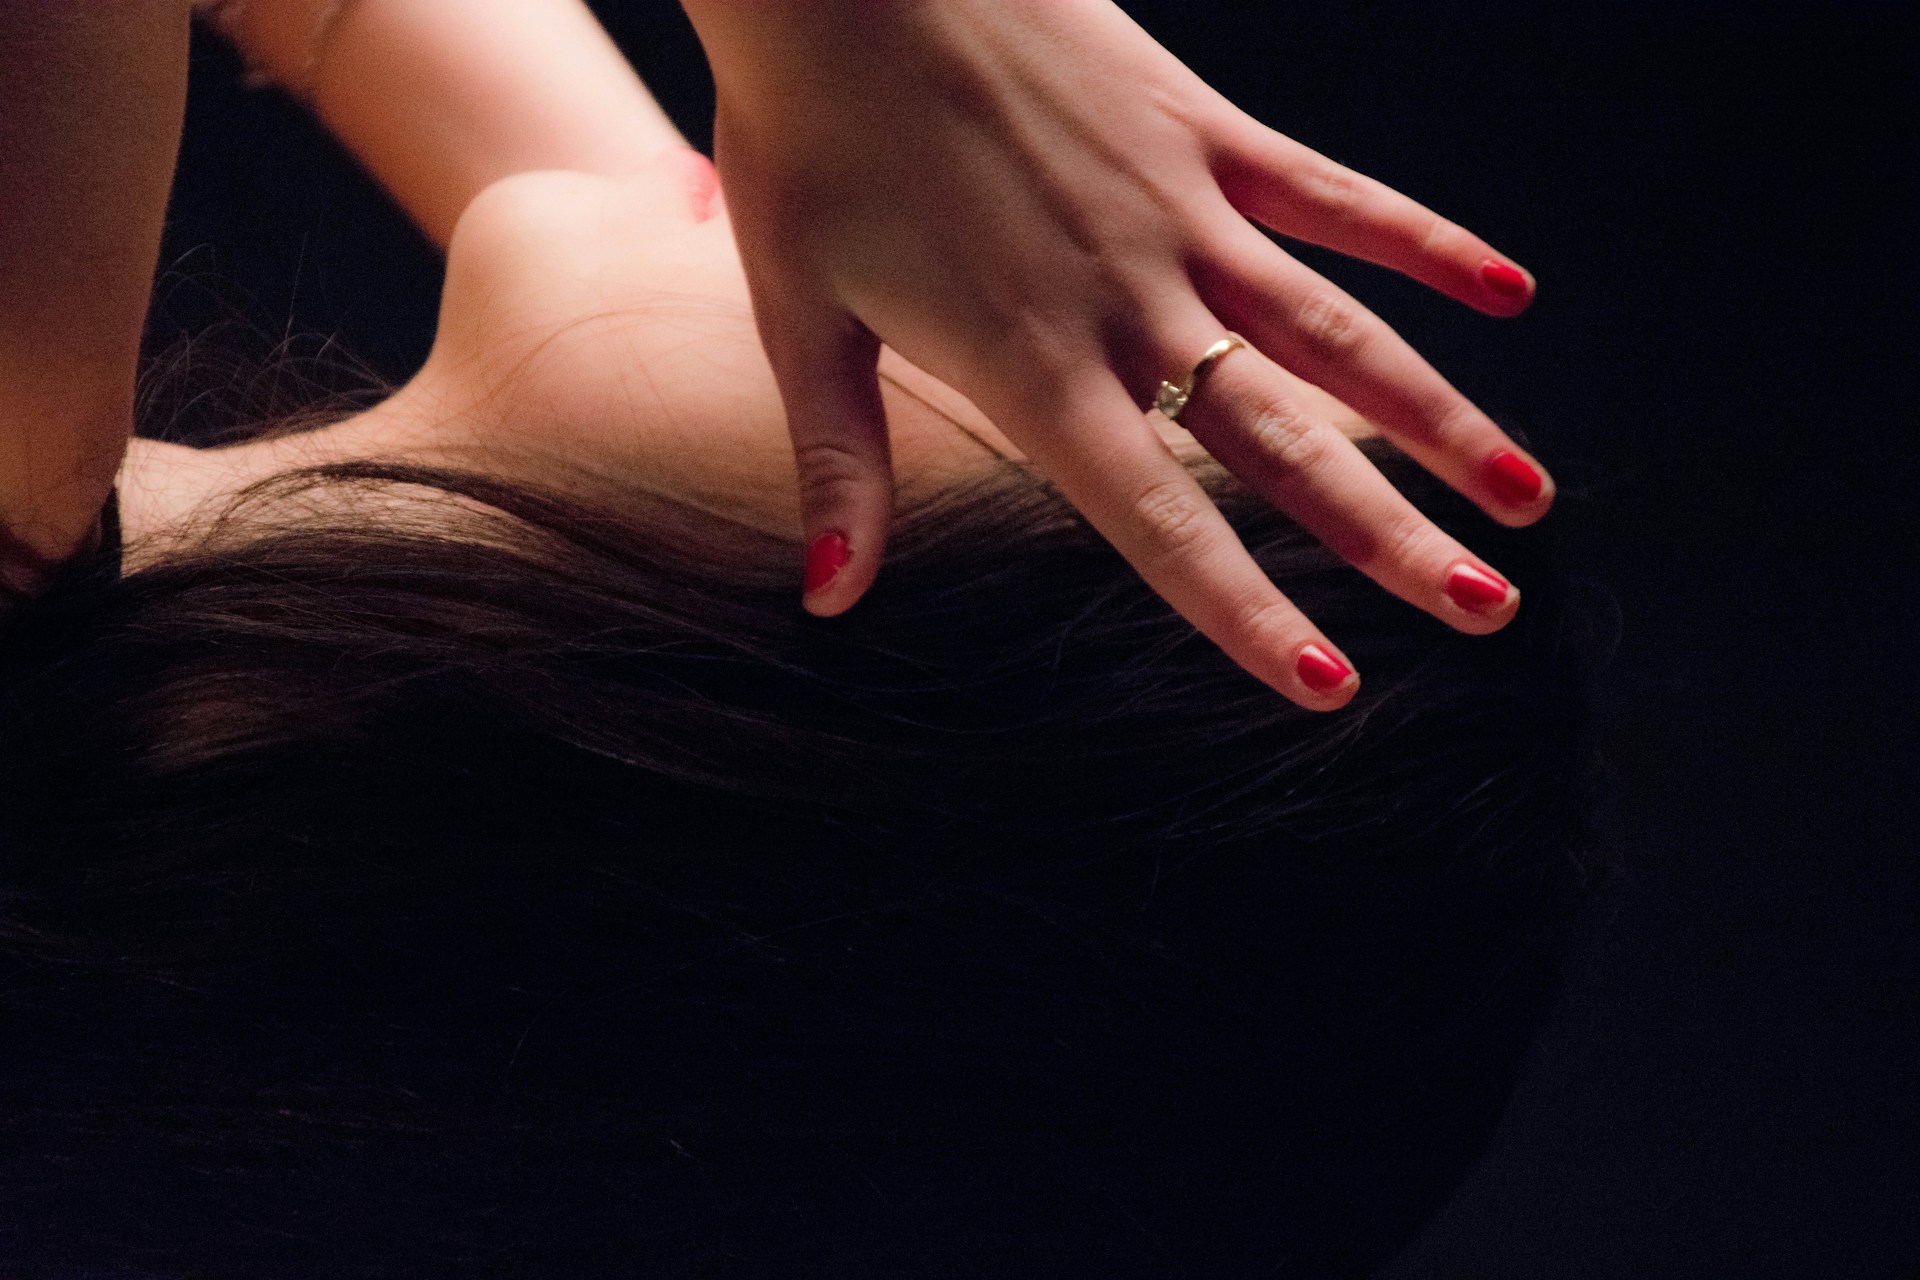
Butterfly nails are a delicate and whimsical trend, adding a touch of nature’s beauty to your fingertips. This style features soft, fluttery wings with subtle accents, creating an elegant and unique look. The design is eye-catching yet understated, perfect for those who want to embrace their feminine side with a touch of fantasy.
Essential Tools & Products:
- Nail file
- Nail buffer
- Base coat
- Nude or sheer pink nail polish
- Black nail art pen or thin brush
- White nail polish
- Glitter nail polish in your choice of color
- Top coat
- Cuticle oil
- UV lamp (optional, for faster drying)
Step-by-Step Routine:
- Start by shaping your nails to your preferred length and style. Use the nail file to create a smooth, even shape, and then buff the surface for a flawless finish.
- Apply a thin layer of base coat to protect your nails and create a smooth canvas.
- Paint your nails with two coats of the nude or sheer pink polish, allowing each layer to dry completely. This will serve as the base for your butterfly design.
- Using the black nail art pen or a thin brush, carefully draw the outline of butterfly wings on each nail. You can create different sizes and shapes for a more natural look.
- Fill in the wings with the black polish, ensuring an even and precise application.
- Add small white dots along the edges of the wings to create a delicate pattern. These accents will make the design pop.
- For an extra touch of sparkle, apply a coat of glitter polish to the tips of your nails or as an accent on one or two fingers.
- Seal your design with a top coat to protect and add shine. You can use a UV lamp to speed up the drying process.
- Finish by massaging cuticle oil into your nail beds and surrounding skin to keep your nails healthy and hydrated.
With these simple steps, you can achieve a beautiful butterfly nail design that is both graceful and eye-catching. The soft wings and subtle accents will have you feeling like you’re wearing a piece of art on your fingertips.