

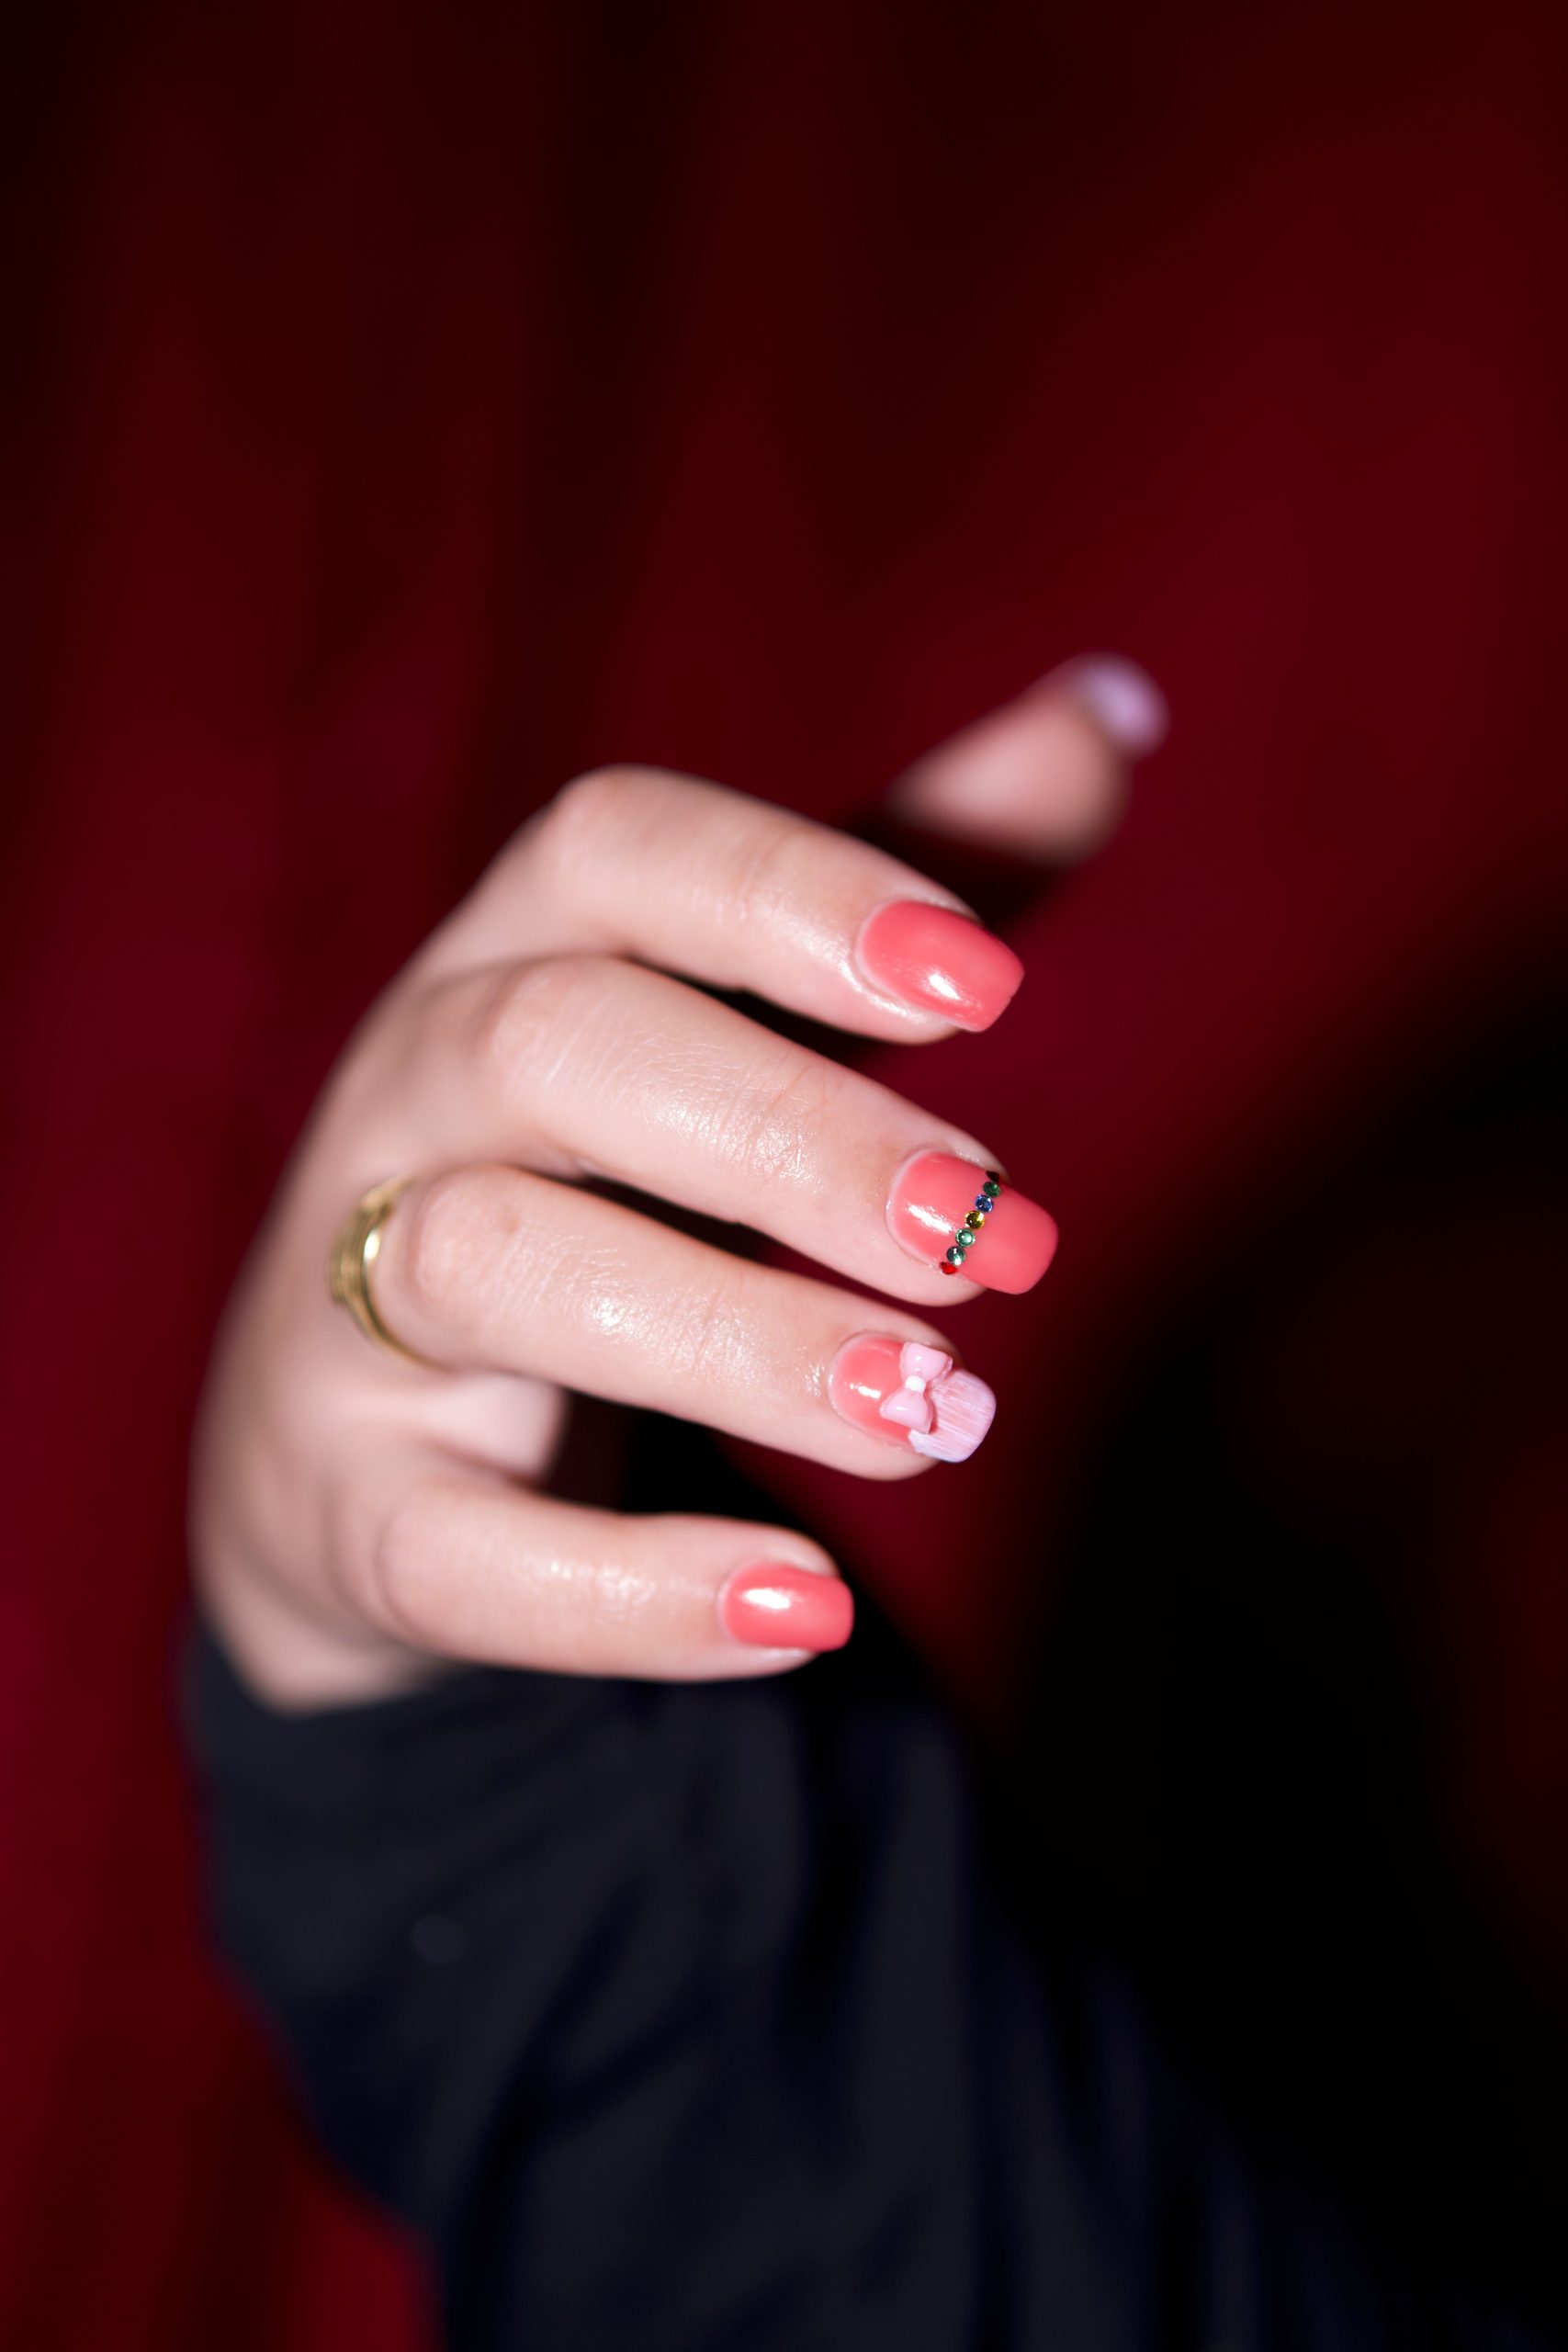
Achieve a sleek and sophisticated look with bow nails, a trendy design featuring a smooth curve and a small accent for a touch of elegance. This style is all about precision and simplicity, creating a flawless and timeless manicure. With its clean lines and delicate details, it’s an appealing choice for those who appreciate understated beauty.
Essential Tools & Products:
- Nail file
- Nail buffer
- Base coat
- Nude or clear polish
- Colored polish for accent
- Dotting tool or toothpick
- Top coat
- Cuticle oil
- Nail polish remover
- Cotton pads
Step-by-Step Routine:
- Start with clean, dry nails. Shape them into a gentle curve, resembling a bow, using a nail file. Ensure a smooth finish by buffing the surface.
- Apply a thin layer of base coat to protect your nails and create a smooth canvas.
- Choose a nude or clear polish for the base color and apply one or two coats, allowing each layer to dry thoroughly.
- Select a contrasting color for the accent. Using a dotting tool or toothpick, carefully place a small dot near the cuticle area. You can also create a tiny bow shape or any other simple design that suits your style.
- Let the accent dry completely, then seal your design with a top coat. This adds shine and extends the life of your manicure.
- Once everything is dry, finish by massaging cuticle oil around your nails to moisturize and nourish the skin.
- To remove any polish mistakes or clean up the edges, use nail polish remover with a cotton pad, being careful not to smudge your design.
This bow nail design is all about subtlety and precision. It’s an excellent option for those who prefer a more understated and elegant approach to nail art, offering a classic look with a hint of creativity.