

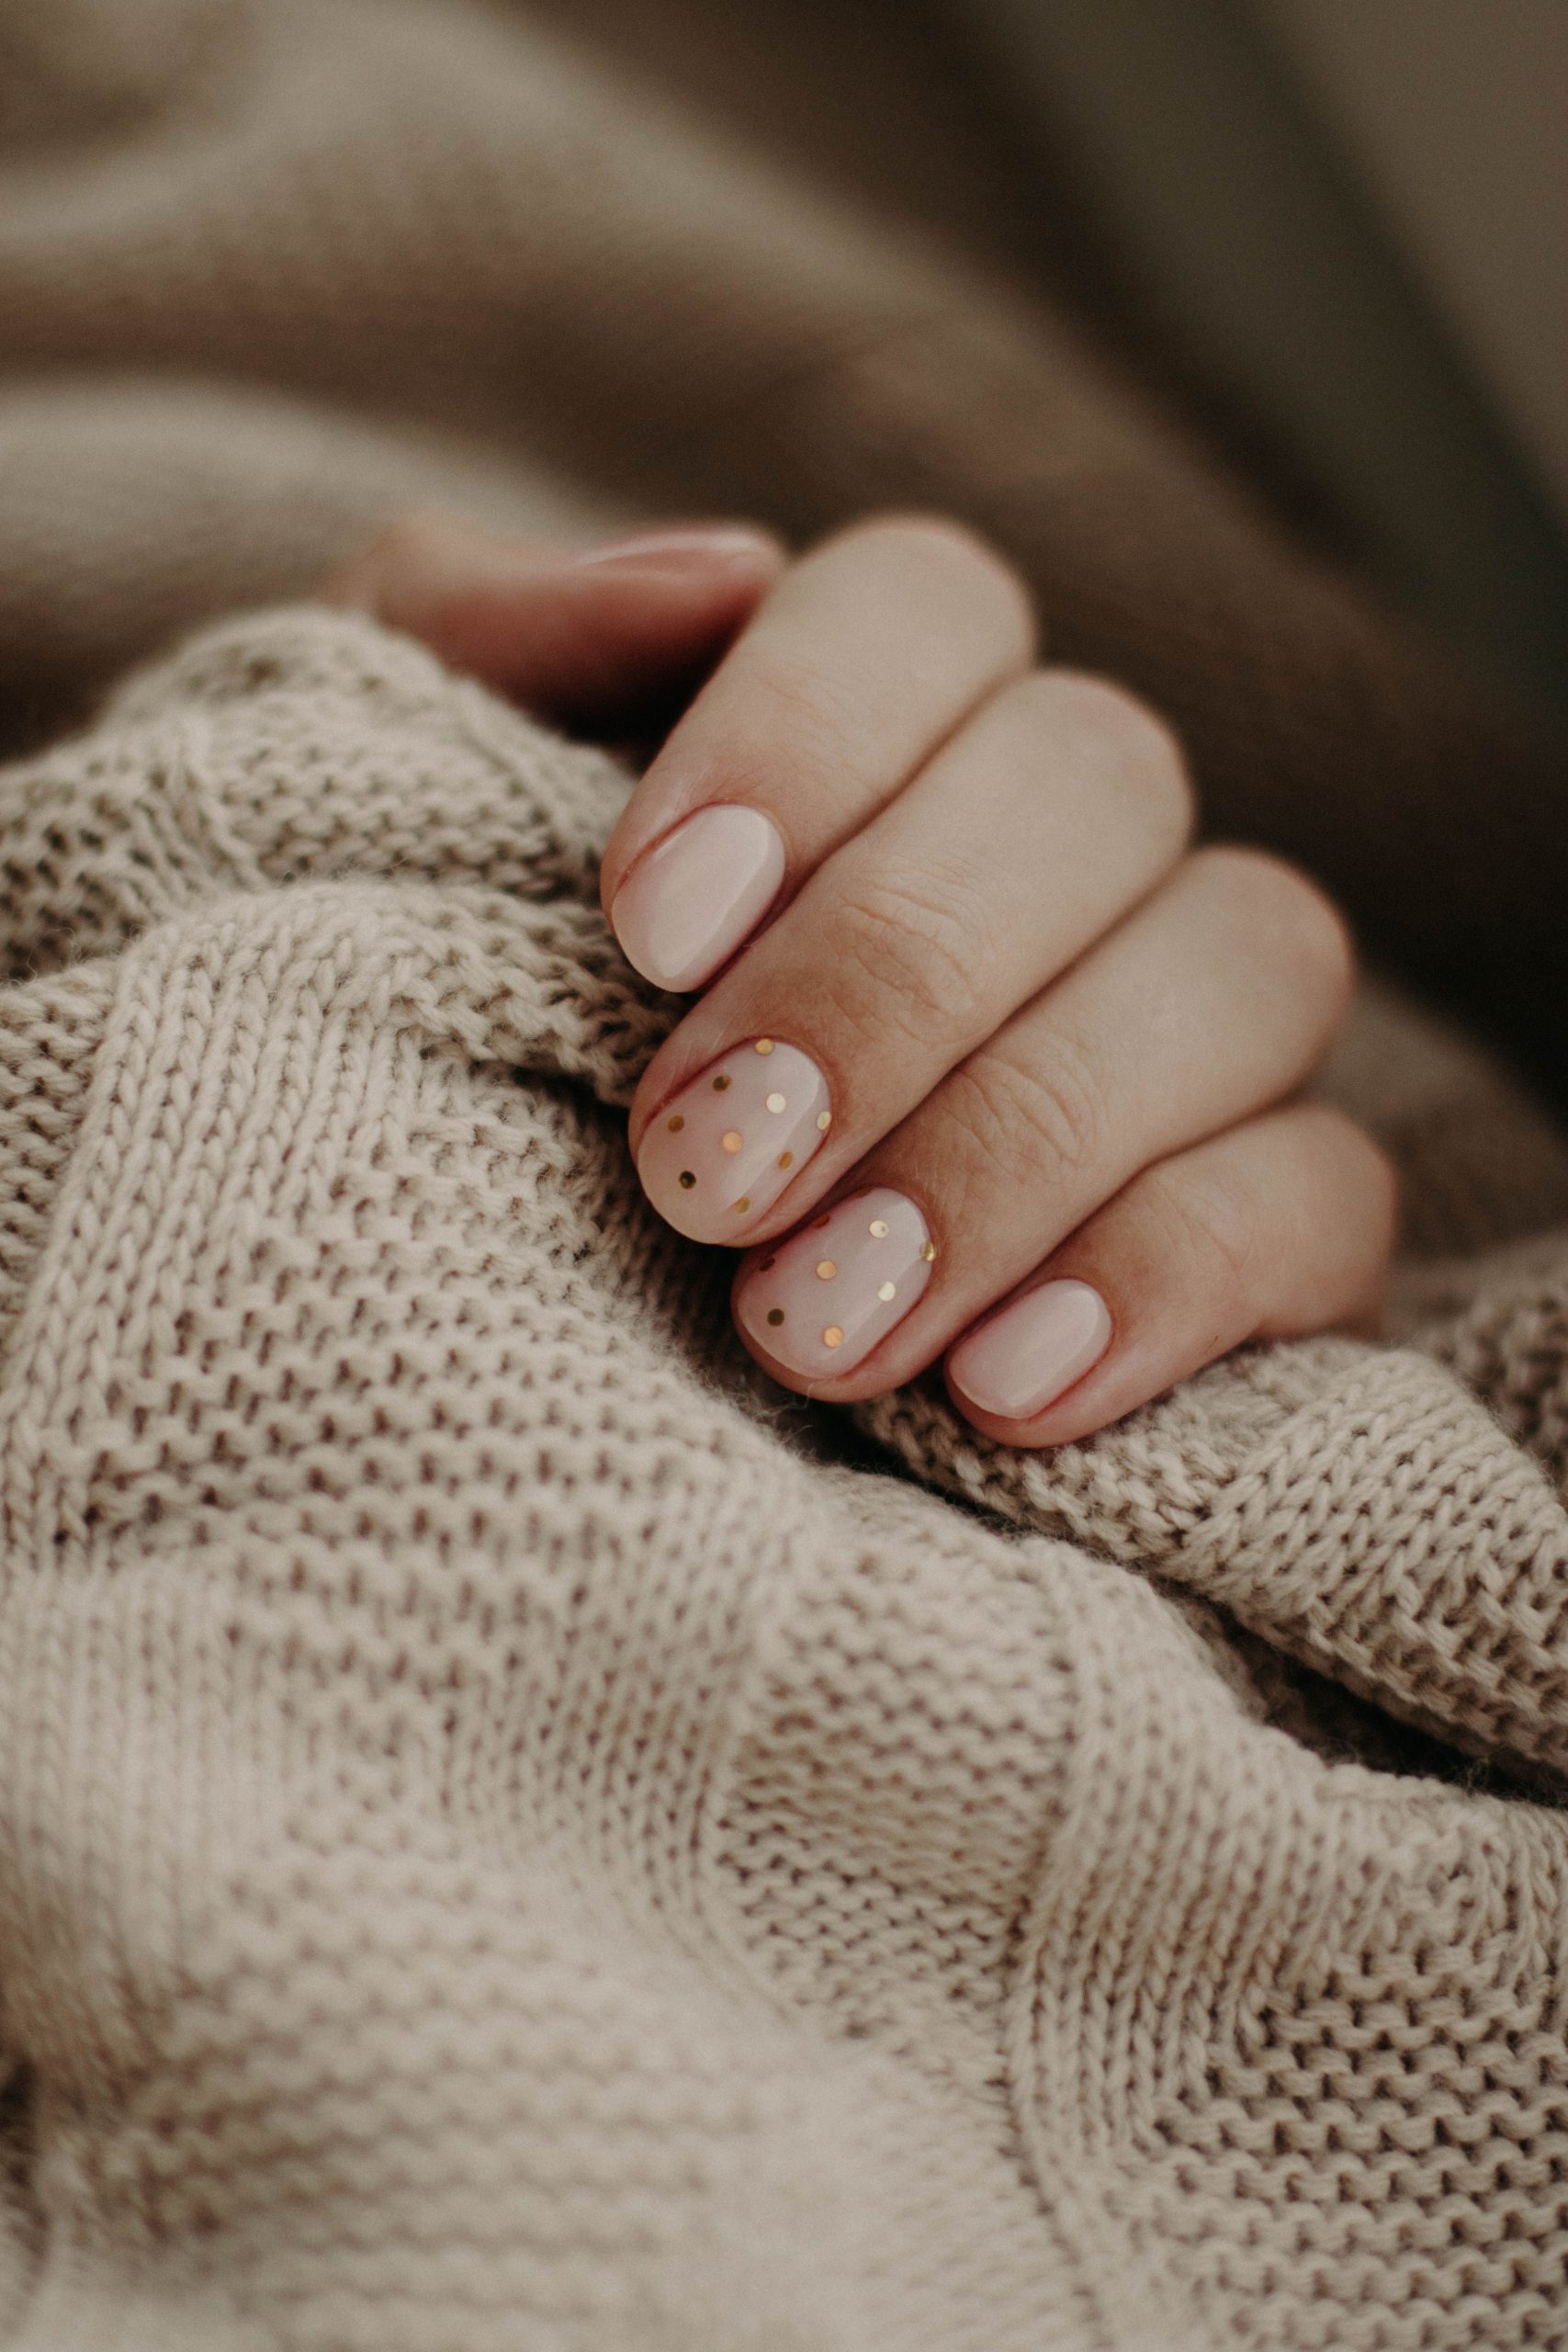
Dot nail art is a playful yet sophisticated trend that adds a touch of whimsy to your fingertips. This style features tiny, evenly spaced circles, creating a look that is both fun and elegant. With its simple design and clean lines, dot nail art is an appealing choice for those seeking a unique and modern manicure.
Essential Tools & Products:
- Nail polish in your chosen base color
- Dotting tool or toothpick
- Contrasting nail polish for the dots
- Top coat
- Nail file
- Cuticle oil
- Nail polish remover and cotton pads for cleanup
Step-by-Step Routine:
- Start with clean, shaped nails. Ensure your nails are free from any old polish and gently push back your cuticles.
- Apply a thin layer of your chosen base color. Allow it to dry completely.
- Using your dotting tool or toothpick, carefully dip it into the contrasting polish and create small dots across your nails. Aim for consistent spacing and size.
- For a more intricate look, you can layer dots, creating a pattern of overlapping circles. Play with different sizes and colors to add depth and interest.
- Once you’re happy with your design, seal it with a top coat. This will protect your artwork and add a glossy finish.
- If any polish has gotten onto your skin, carefully clean it up with a small brush dipped in nail polish remover.
- Finish by applying cuticle oil to moisturize and nourish the skin around your nails.
This technique allows for creativity and customization. Experiment with various color combinations and dot sizes to find your unique style. Whether you prefer a minimalist look with subtle dots or a bolder statement with vibrant colors, dot nail art is a fun way to express your personality through your manicure.