

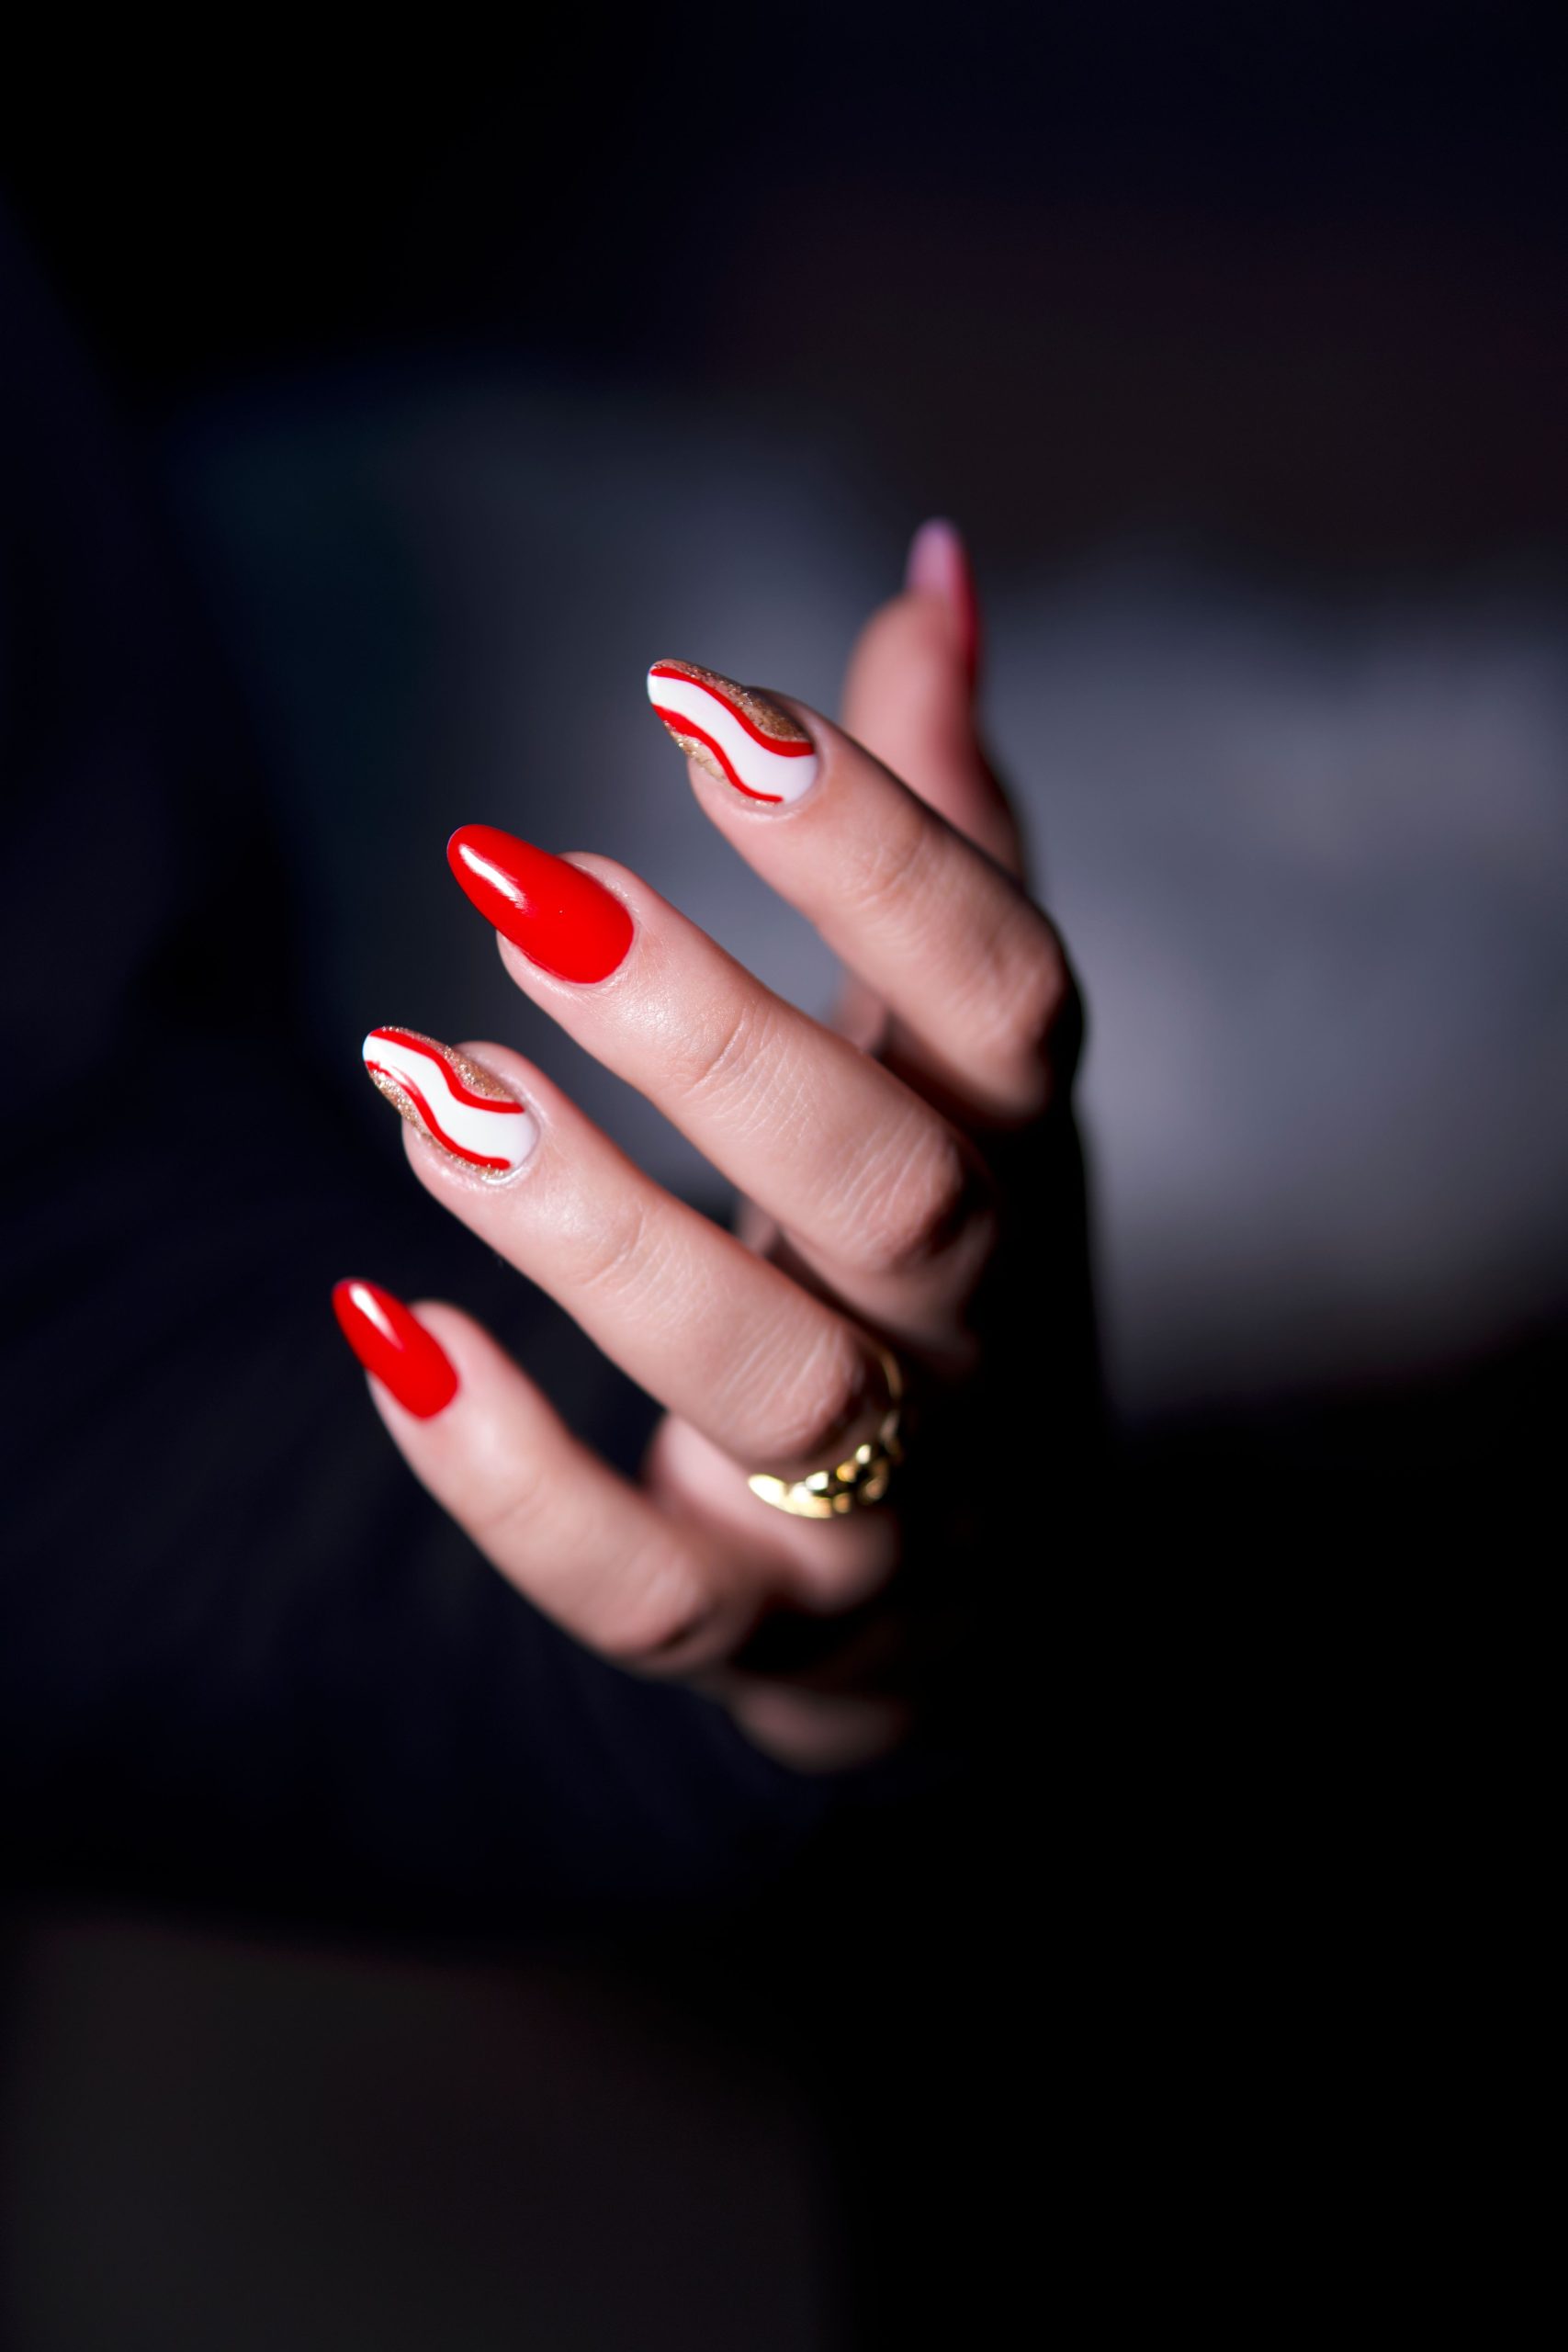
Foil nails are a stunning way to add a touch of glamour to your look. The glossy finish and gold details create a sleek and elegant style, perfect for those seeking a sophisticated manicure. This design is a unique and modern twist on traditional nail art, offering a flawless and eye-catching appearance.
Essential Tools & Products:
- Nail file
- Nail buffer
- Base coat
- Top coat
- Foil adhesive
- Gold foil sheets
- Clear jelly stamper and scraper
- Gold stamping polish
- Gold glitter polish
- Cuticle oil
- Nail cleanser
- UV/LED lamp (optional)
Step-by-Step Routine:
- Prepare your nails by shaping and buffing them to a smooth finish.
- Apply a thin layer of base coat and cure under a lamp if using a gel formula.
- Add a coat of clear polish to create a glossy base.
- Once dry, apply a thin layer of foil adhesive to each nail.
- Wait for the adhesive to become tacky, then gently press the gold foil sheets onto your nails, ensuring full coverage.
- Smooth out any wrinkles and carefully peel off the foil sheets to reveal the gold design.
- Using the clear stamper, pick up your desired gold stamping image and apply it to each nail.
- For added sparkle, use a small brush to apply gold glitter polish to the tips of your nails.
- Seal the design with a top coat, curing under a lamp if necessary.
- Finish by nourishing your cuticles with cuticle oil and cleaning up any excess polish with nail cleanser.
With these simple steps, you can achieve a professional-looking foil nail design with gold details and a glossy finish. This technique offers a unique and stylish way to enhance your nails, ensuring they become a statement accessory.