

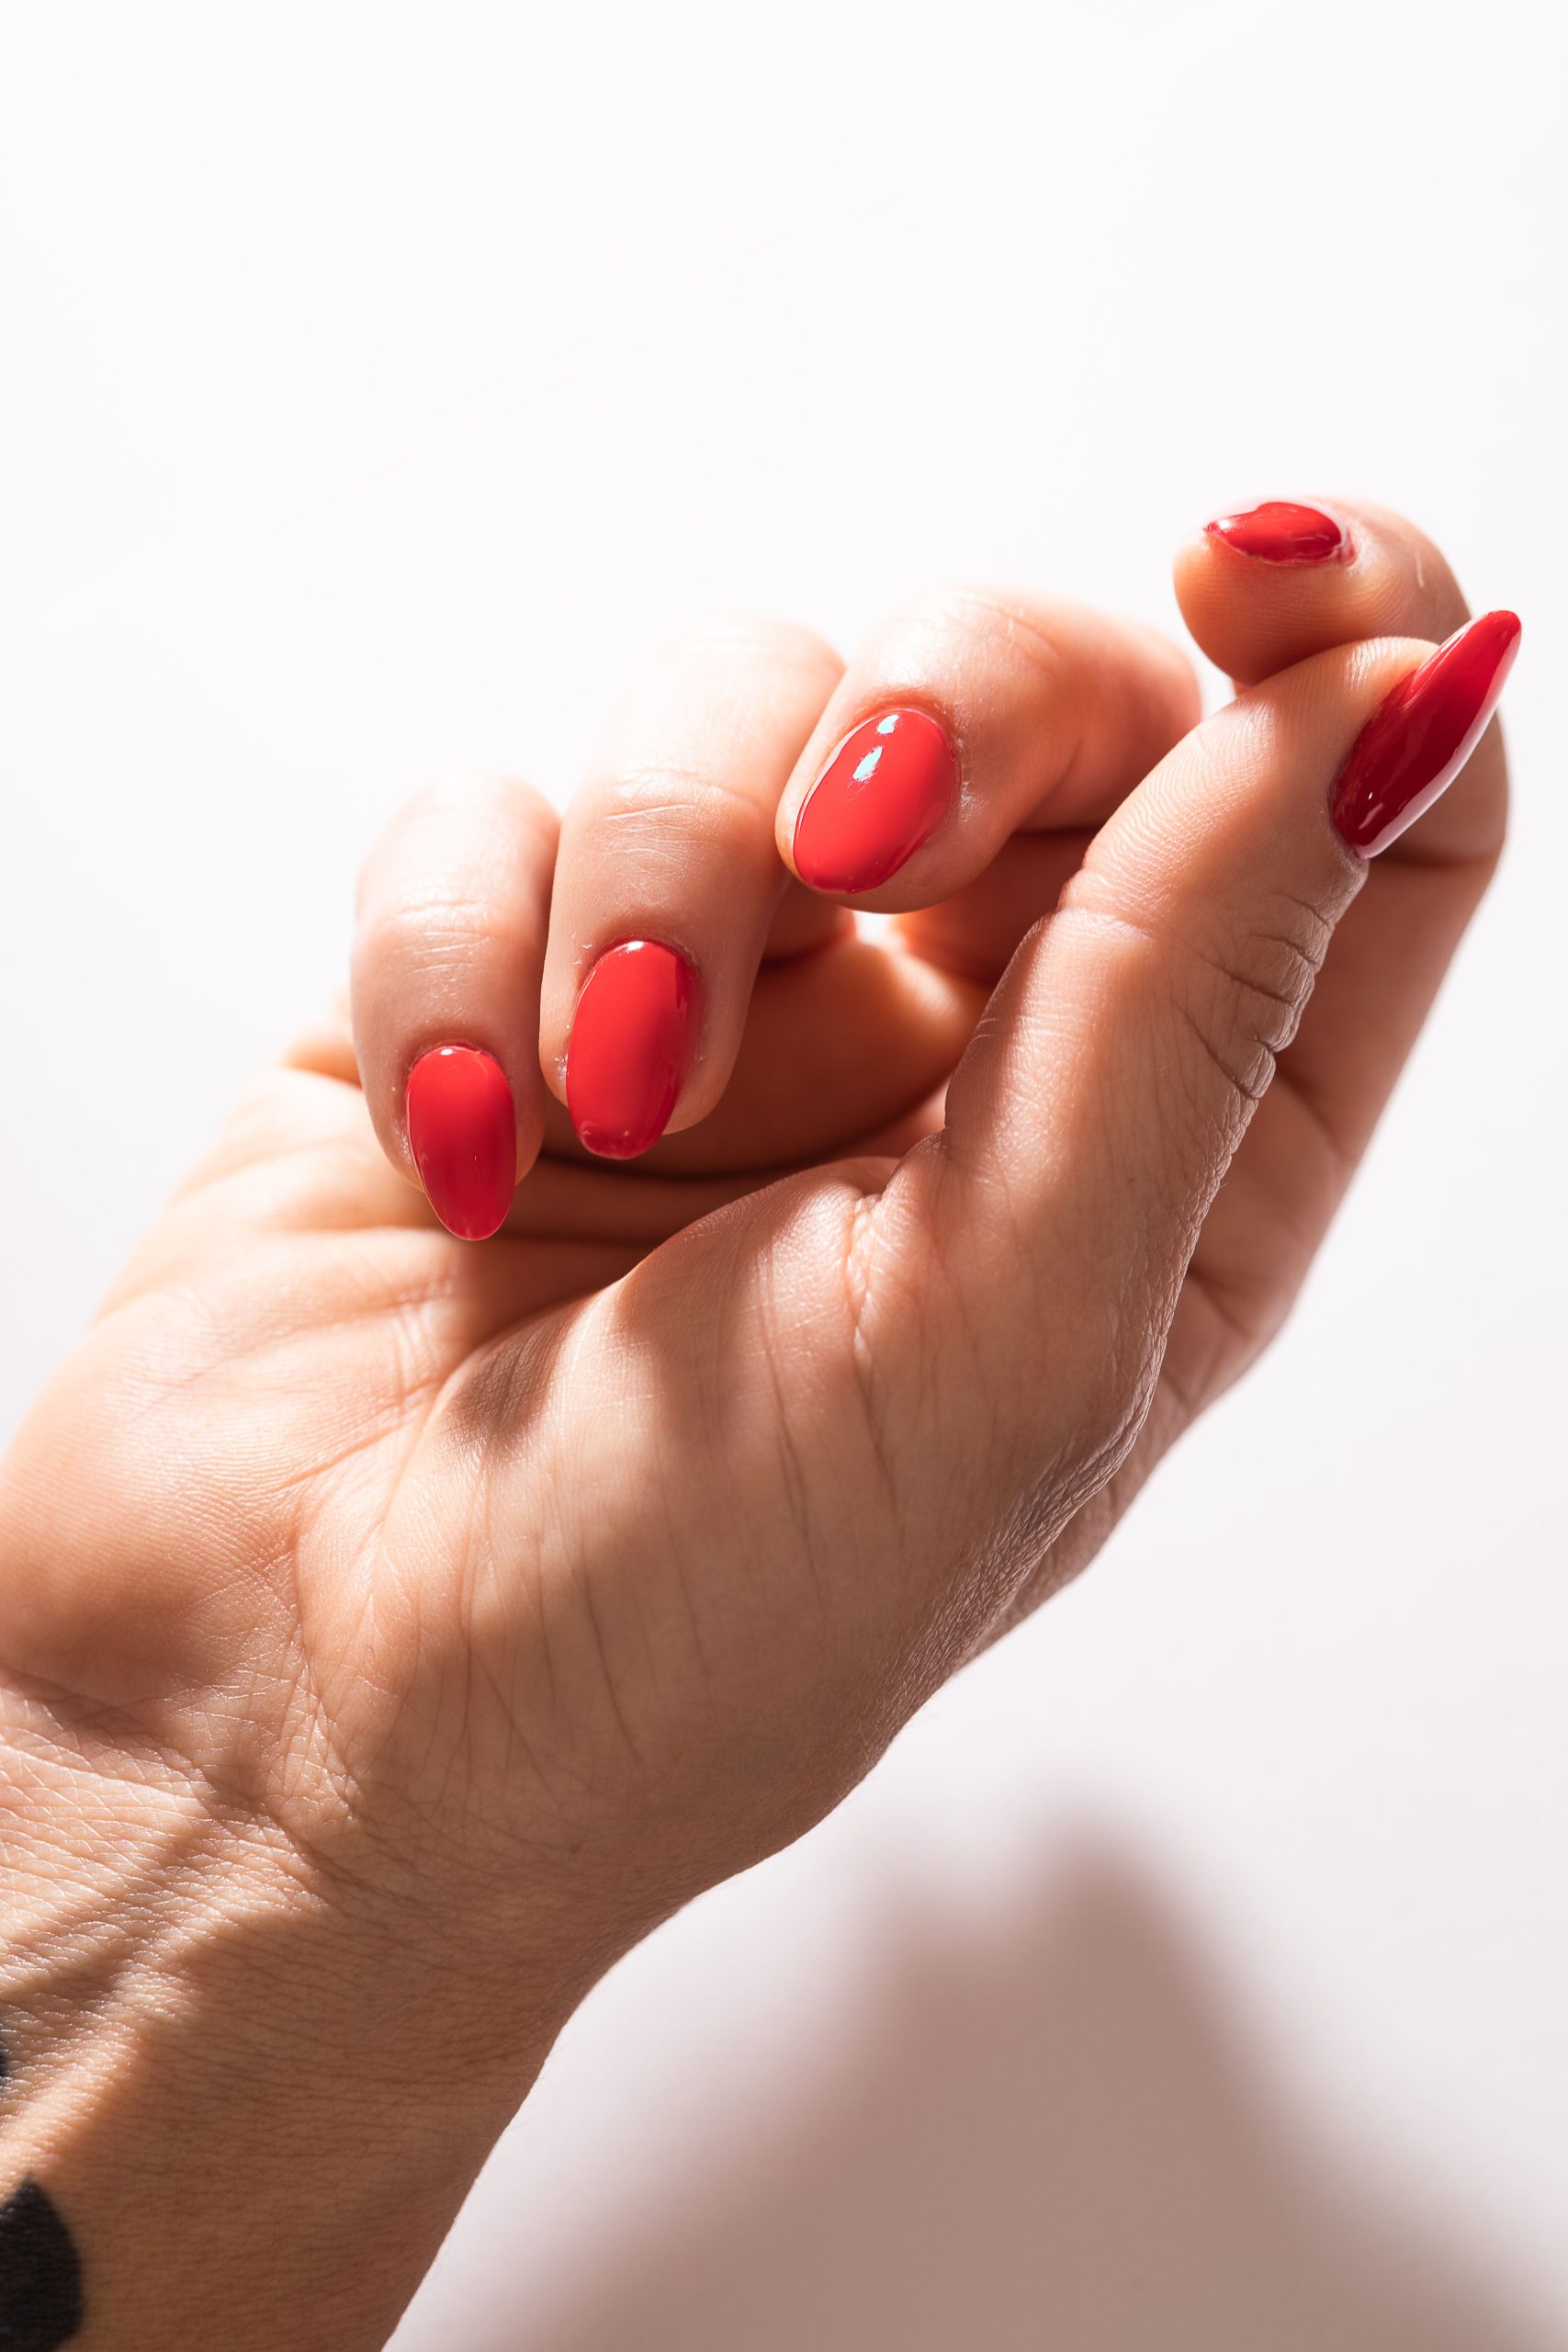
Gel extension nails are a popular choice for those seeking long-lasting, high-shine manicures. This technique creates a flawless look with added length and a glossy finish, perfect for anyone wanting elegant, strong nails. The process involves applying gel over nail tips or forms to extend the nail bed, offering a natural look and feel.
Essential Tools & Products:
- Nail tips or forms in various sizes
- Gel nail polish in your chosen color
- Base and top coat gels
- Nail primer
- Nail file and buffer
- Cuticle pusher
- Cuticle oil
- UV/LED lamp
- Nail cleanser and lint-free wipes
- Nail glue (if using tips)
Step-by-Step Routine:
- Prepare your nails by gently pushing back cuticles and shaping them with a cuticle pusher. Ensure your nails are clean and dry.
- Apply cuticle oil to moisturize the nail bed and surrounding skin.
- Select the appropriate-sized nail tips or forms for each nail. If using tips, glue them onto your natural nails, ensuring a secure fit.
- File and buff your nails to create a smooth surface. Remove any excess dust.
- Apply a thin layer of nail primer to the entire nail, including the extended part.
- Cure your nails under the UV/LED lamp according to the gel polish instructions.
- Paint a thin layer of base coat gel onto each nail, capping the tips, and cure again.
- Choose your desired gel polish color and apply a thin coat, curing after each layer. Repeat this step for full coverage and color intensity.
- Seal the color with a top coat, ensuring the edges are wrapped to prevent chipping.
- Cure for the recommended time, then cleanse your nails with nail cleanser and lint-free wipes to remove the sticky residue.
- Finish by massaging cuticle oil into the nail and surrounding skin to nourish and hydrate.
With these steps, you can achieve beautiful gel extension nails with added length and a glossy finish. Remember to maintain your nails with regular touch-ups and proper nail care.