

Achieving a professional-looking gel manicure at home is now within reach. With the right tools and a simple routine, you can create a glossy, long-lasting nail look that rivals salon quality. Gel nails offer a smooth, elegant finish with vibrant color that won’t chip or fade quickly.
Essential Tools & Products:
- Nail file
- Nail buffer
- Cuticle pusher
- Cuticle oil
- Nail cleanser
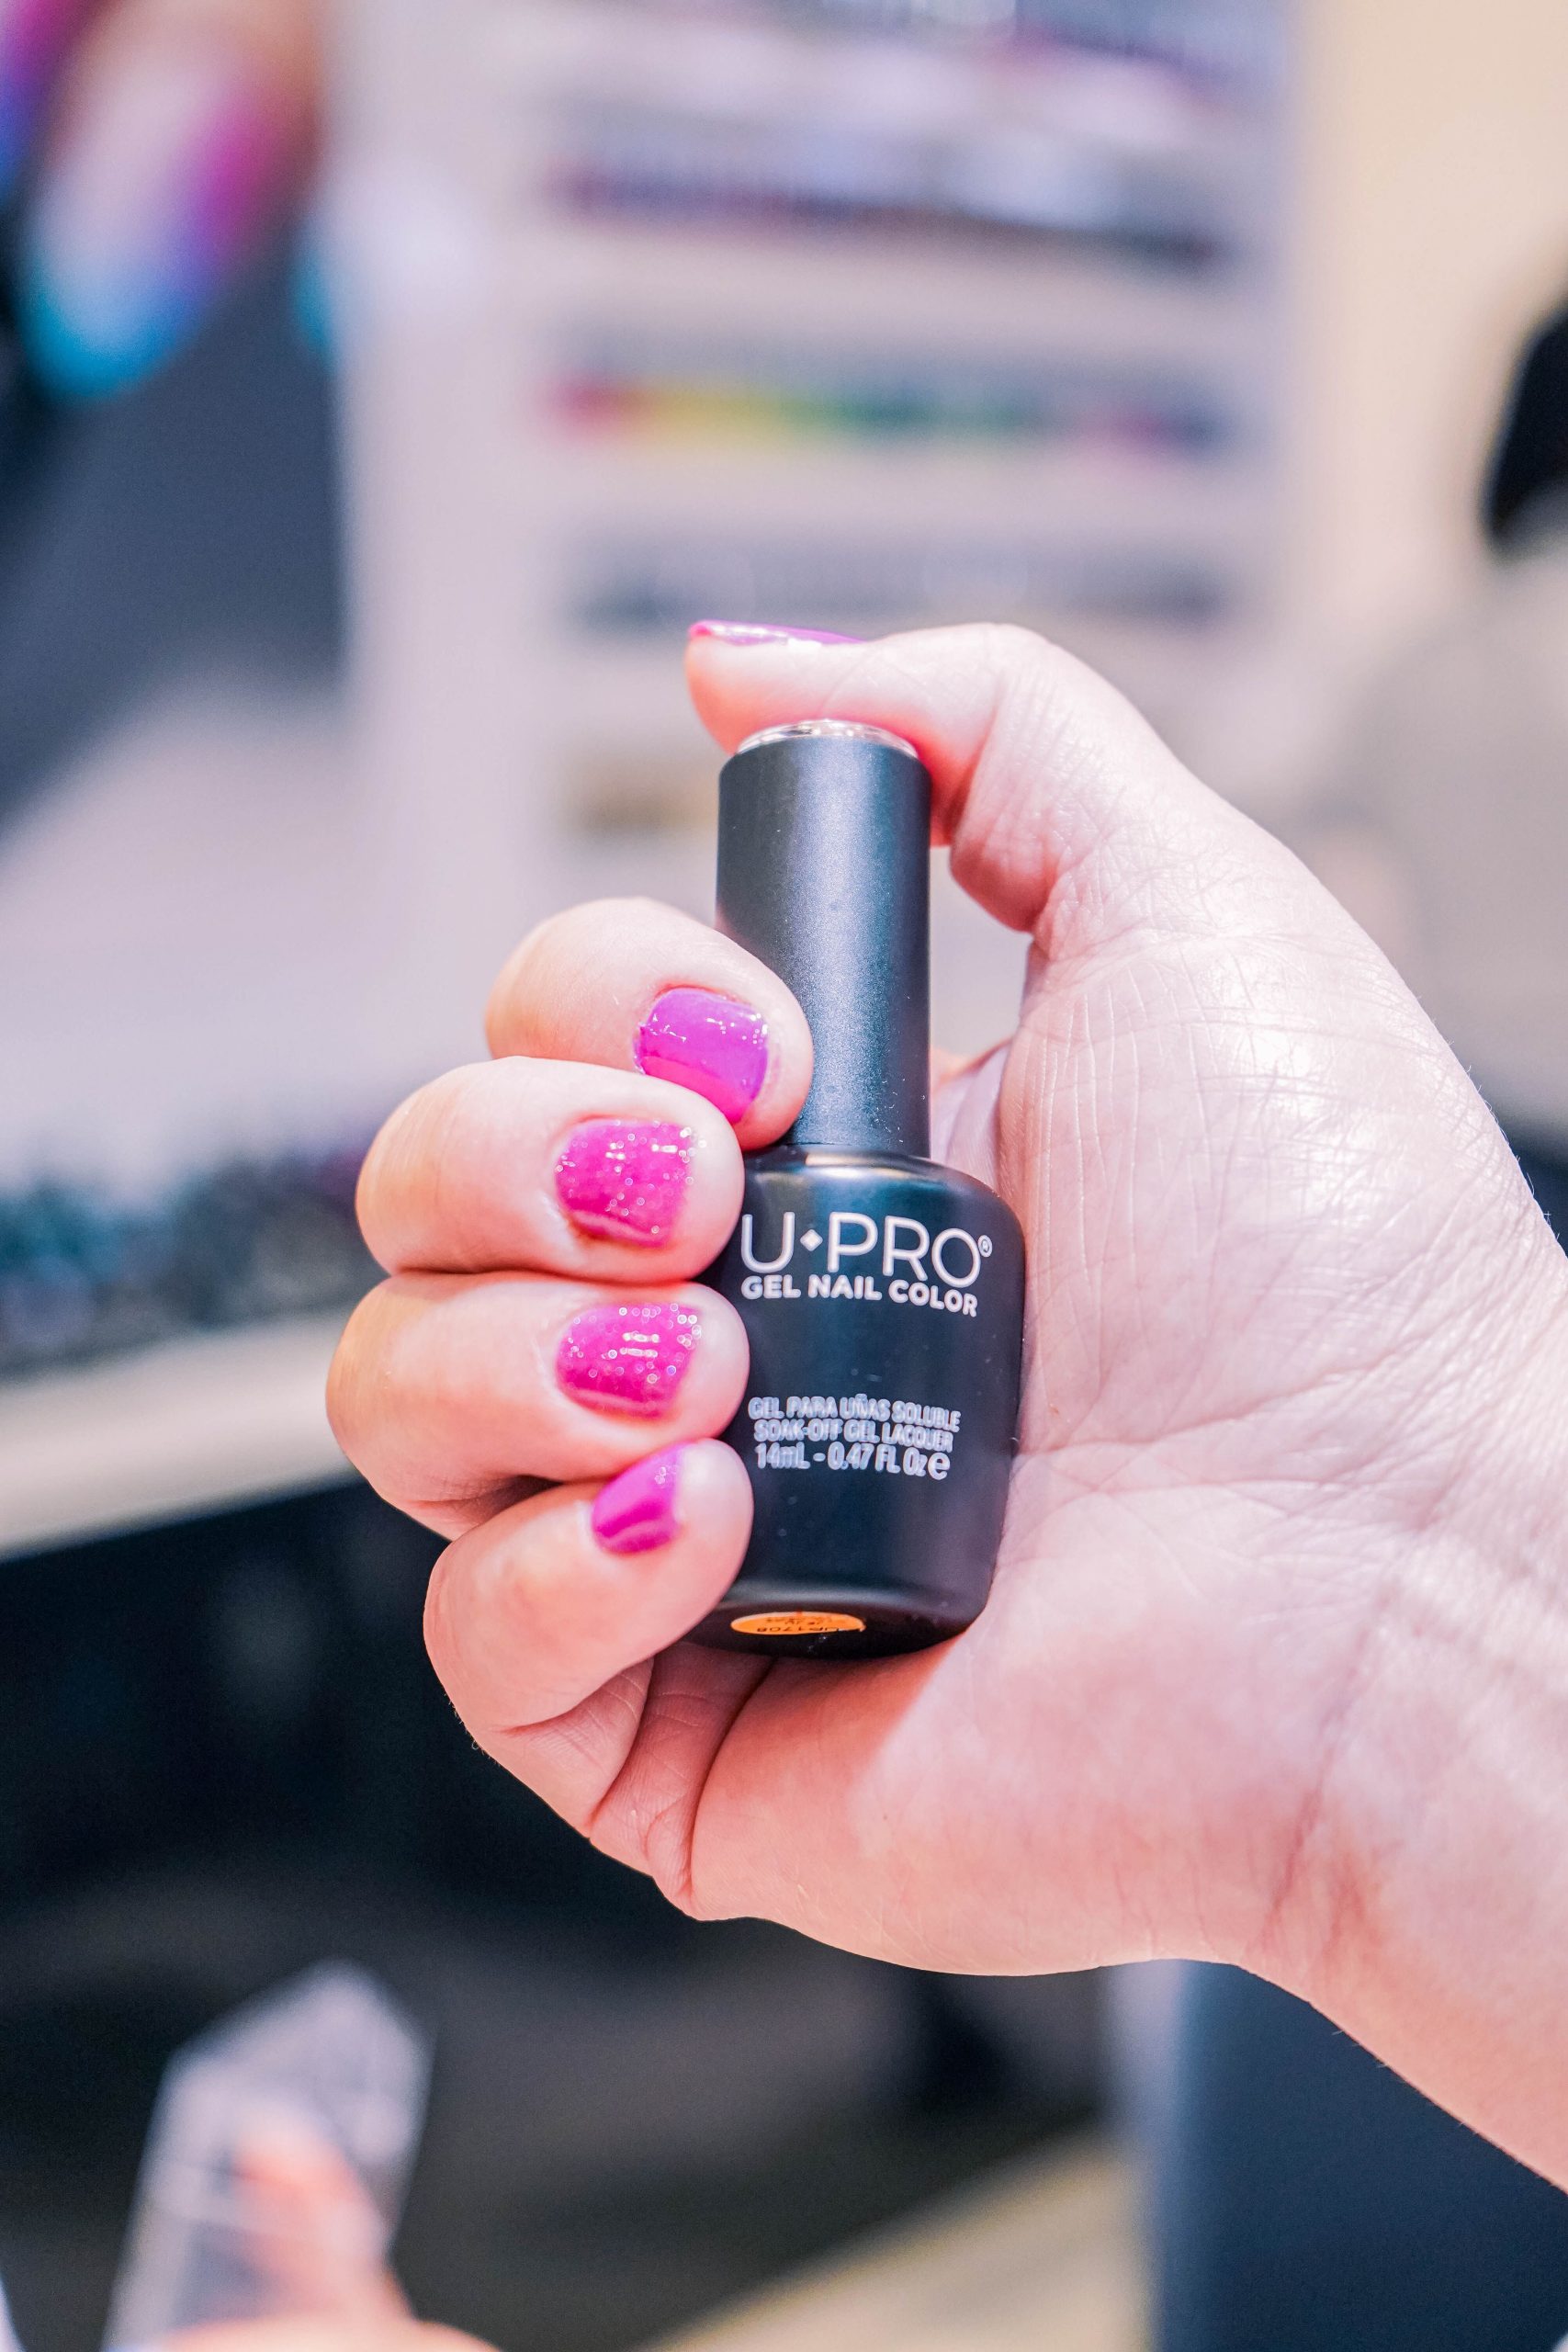
- Base coat, color gel polish, and top coat (specifically designed for gel nails)
- UV or LED lamp
- Nail wipes or lint-free pads
- Nail clippers and cuticle trimmer (optional)
Step-by-Step Routine:
- Prepare your nails by clipping them to your desired length and shaping them with a file. Gently push back cuticles and trim any excess skin.
- Buff the nail surface to create a smooth base. Ensure you don’t over-buff, as this can thin the nails.
- Clean the nails with nail cleanser to remove any dust and oil. This step is crucial for the gel polish to adhere properly.
- Apply a thin layer of base coat, capping the tips of your nails. Cure under the UV or LED lamp according to the product instructions.
- Add a thin layer of your chosen color gel polish, again capping the tips. Cure under the lamp.
- Repeat the previous step for a second coat of color, ensuring full coverage. Cure once more.
- Finish with a thin layer of top coat, sealing the tips. Cure for the final time.
- Wipe off the sticky residue from the top coat with nail cleanser or isopropyl alcohol.
- Moisturize cuticles with cuticle oil to keep them healthy.
With this routine, you can achieve a salon-worthy gel manicure at home, enjoying long-lasting, shiny nails.