

Achieve the ultimate in nail perfection with hard gel nails, a popular choice for those seeking a durable and stylish manicure. The glossy finish and smooth surface create an elegant look, while the firm structure ensures long-lasting wear. This technique offers a flawless, chip-resistant manicure with a clean shape that’s sure to impress.
Essential Tools & Products:
- Nail file
- Nail buffer
- Cuticle pusher
- Cuticle oil
- Nail primer
- Hard gel polish in your chosen color
- UV/LED lamp
- Top coat
- Nail cleanser
- Lint-free wipes
Step-by-Step Routine:
- Start by shaping and buffing your natural nails to create a clean canvas. Gently push back cuticles and moisturize with cuticle oil.
- Apply a thin layer of nail primer to each nail, ensuring full coverage.
- Cure your nails under the UV/LED lamp according to the gel polish instructions.
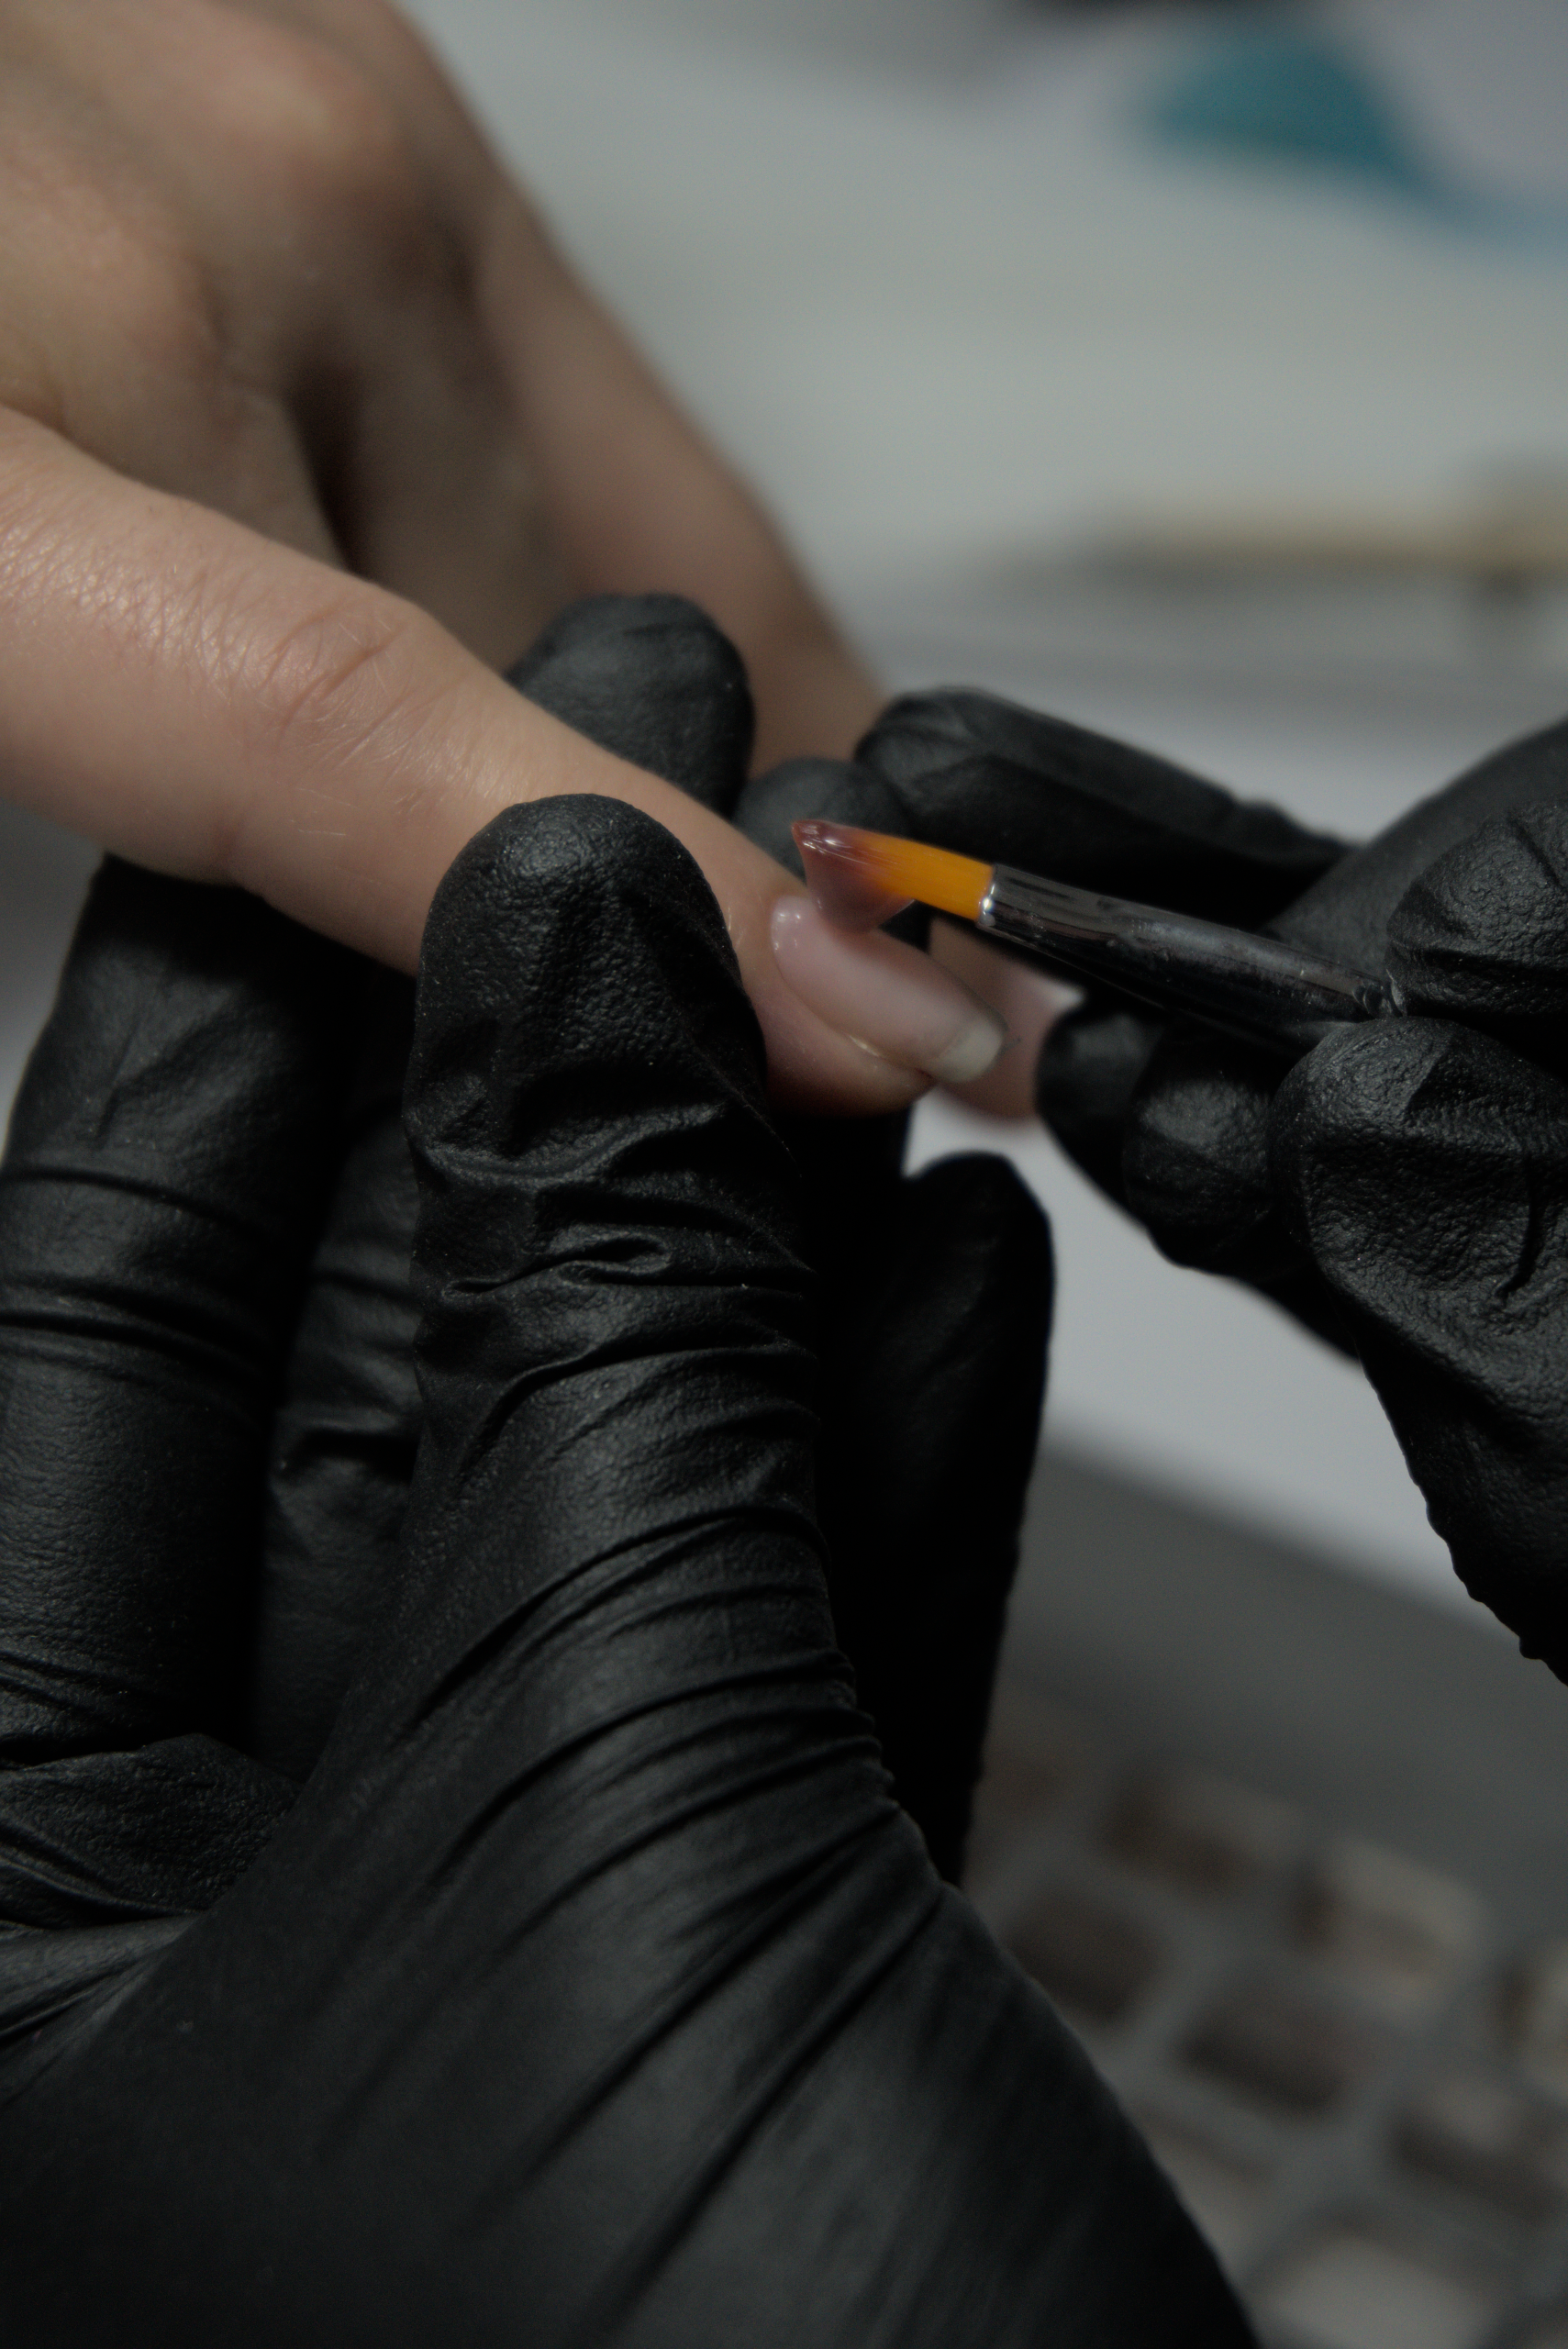
- Choose your desired hard gel polish color and apply a thin coat to each nail, capping the free edge.
- Cure again, then repeat with a second coat for full opacity and depth of color.
- Seal the look with a top coat, curing once more for a long-lasting finish.
- Wipe off the inhibition layer with nail cleanser and lint-free wipes for a glossy shine.
- Finally, moisturize your cuticles and skin around the nails to complete the look.
With these simple steps, you can achieve a professional-looking hard gel manicure at home, enjoying the benefits of a firm structure and clean shape that will last for weeks.