

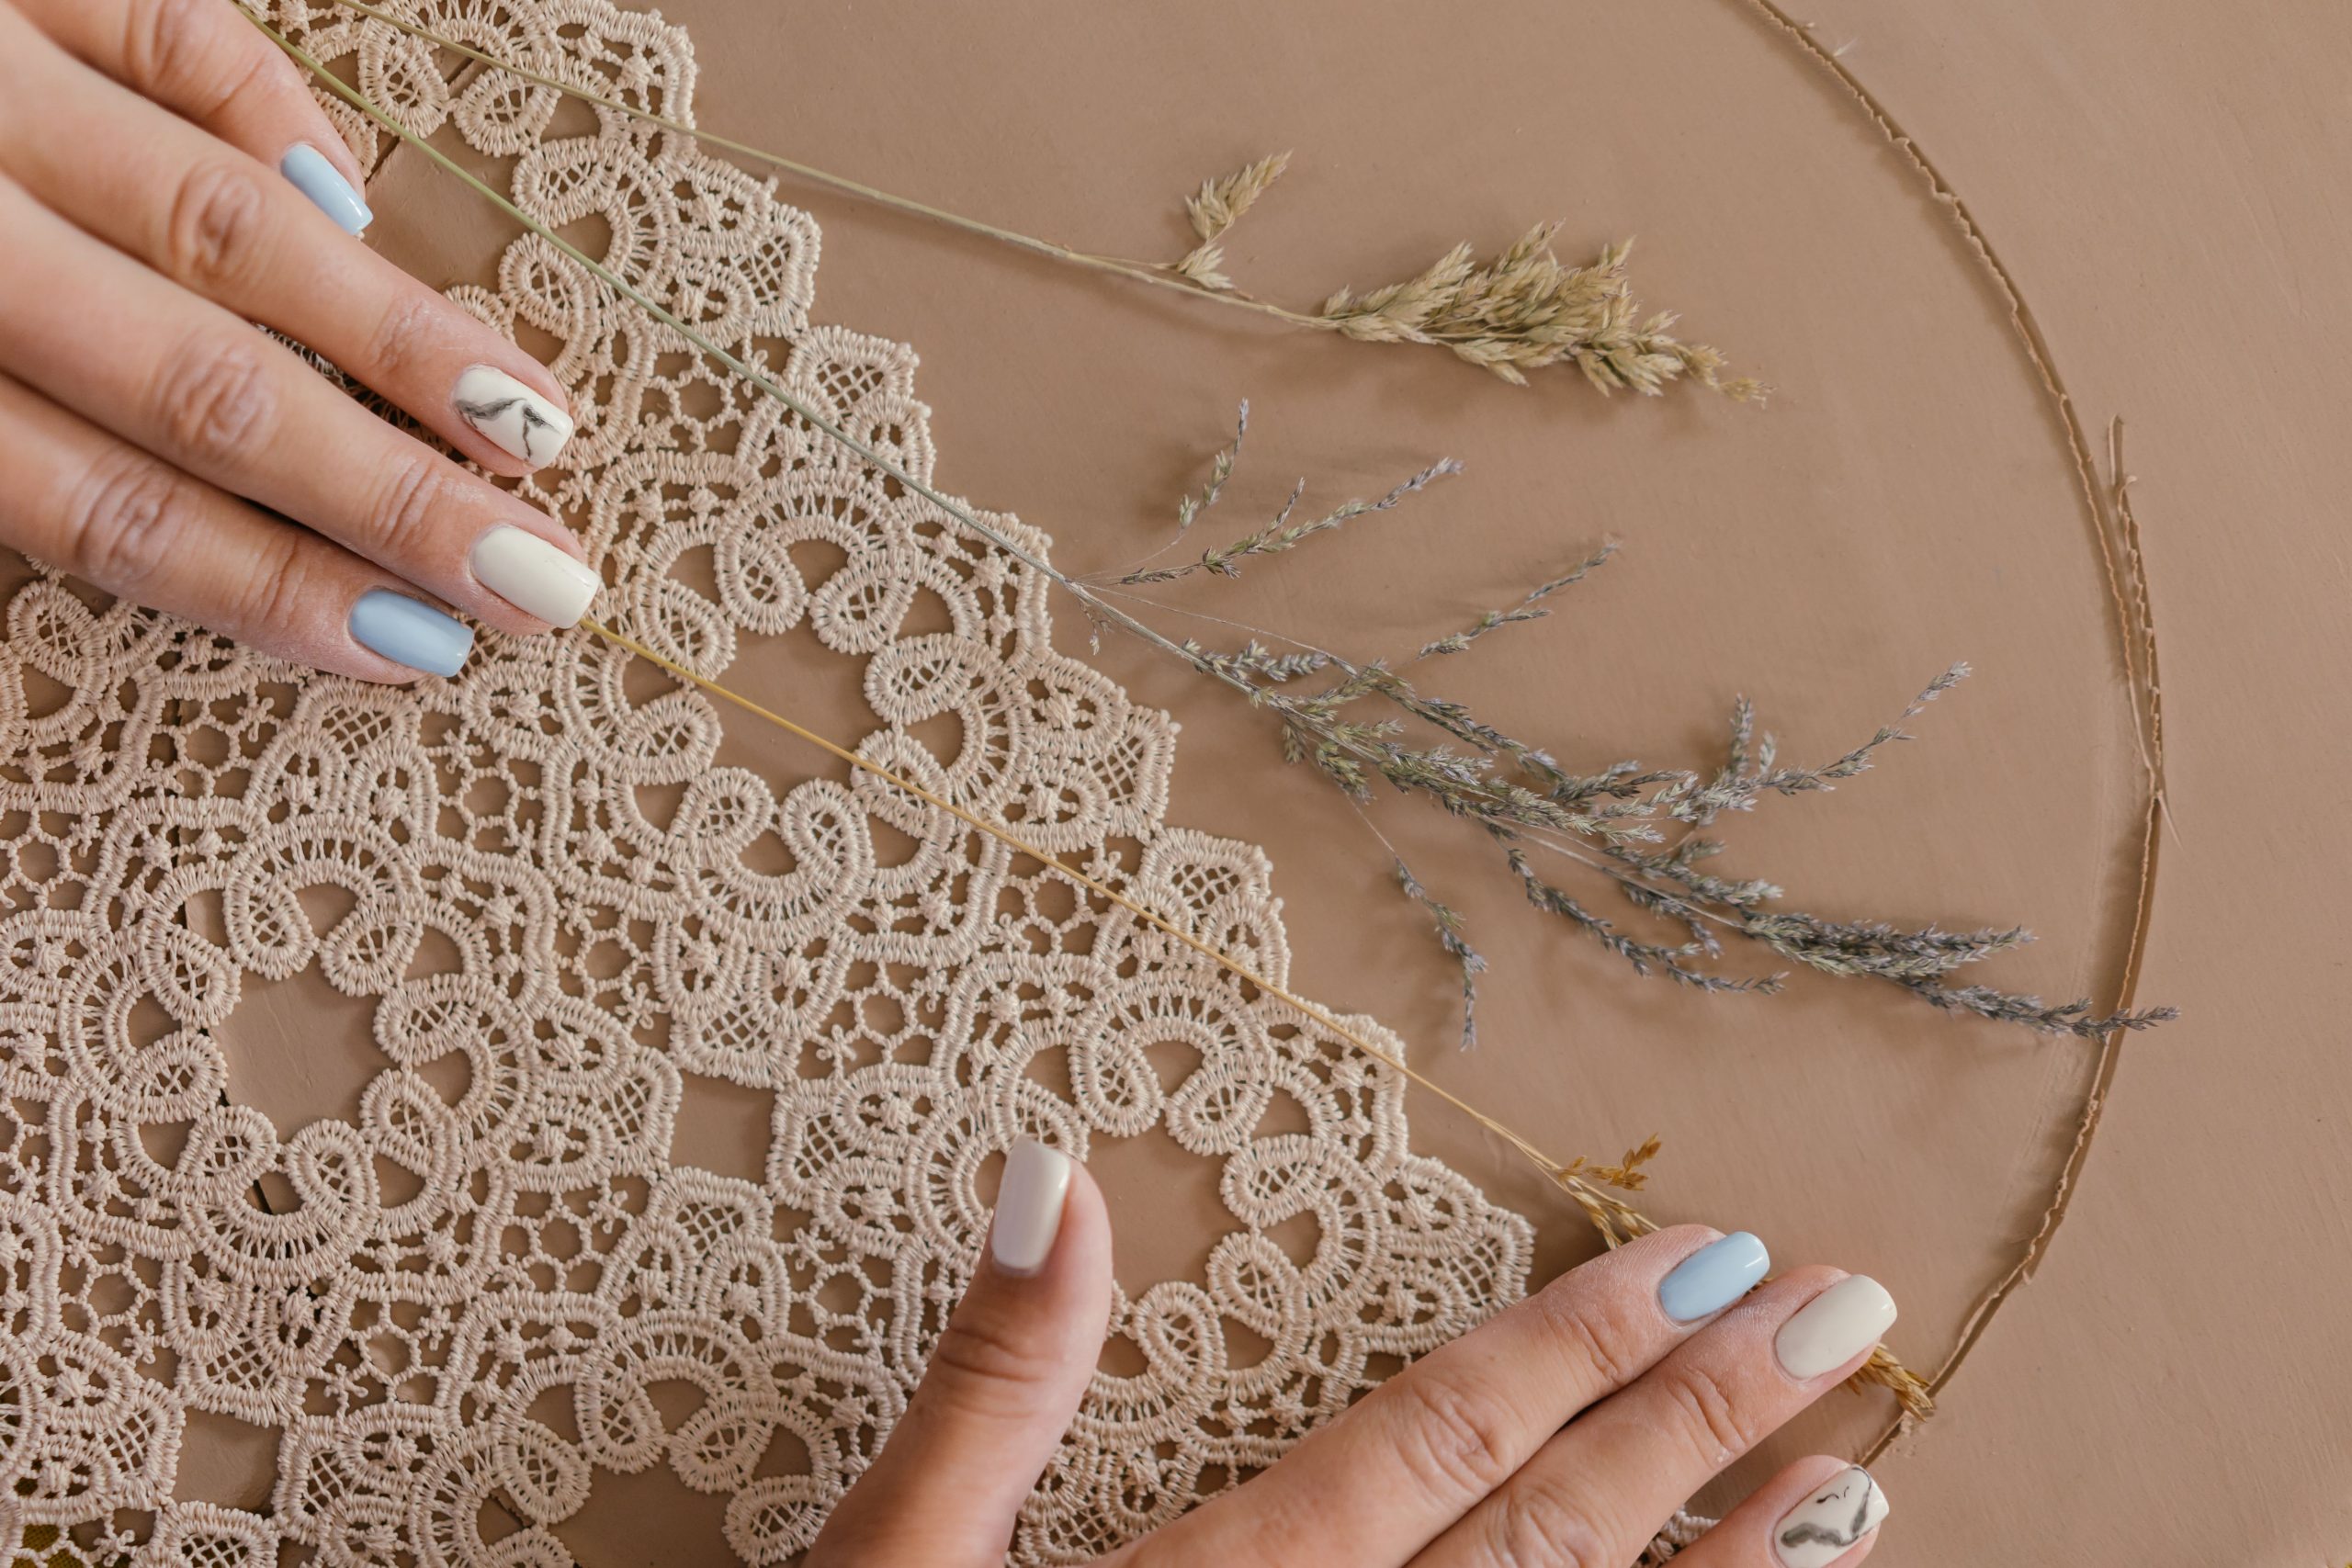
Lace nails are an elegant and delicate way to adorn your fingertips with intricate detail. This style is perfect for those who appreciate a subtle yet captivating look. With a soft color palette and fine lace patterns, these nails create a timeless and feminine aesthetic, offering a unique twist on traditional manicures.
Essential Tools & Products:
- Nail file
- Nail buffer
- Base coat
- Nude or light-colored nail polish
- White nail polish with a fine brush
- Top coat
- Cuticle oil
- UV lamp (optional, for faster drying)
Step-by-Step Routine:
- Start by shaping and buffing your nails to create a smooth surface. Ensure your nails are clean and free from any previous polish.
- Apply a thin layer of base coat to protect your nails and create a smooth canvas.
- Choose a light, neutral shade as your base color. This could be a sheer nude, pale pink, or any soft color that complements your skin tone. Apply one or two coats, allowing each layer to dry completely.
- Using the white nail polish and its fine brush, carefully paint lace patterns on each nail. You can create various lace designs, such as floral motifs, intricate webs, or scalloped edges. Take your time to ensure precision and symmetry.
- Allow the lace details to dry thoroughly. This step may take longer due to the fine lines and intricate work. Consider using a UV lamp to speed up the drying process.
- Seal your design with a top coat to add shine and protect the artwork. Be careful not to smudge the lace patterns when applying the top coat.
- Finish by moisturizing your cuticles with cuticle oil to keep them healthy and hydrated.
With patience and a steady hand, you can achieve beautiful lace nails that are both graceful and eye-catching. This technique allows for creativity and customization, ensuring your nails are a unique work of art.