

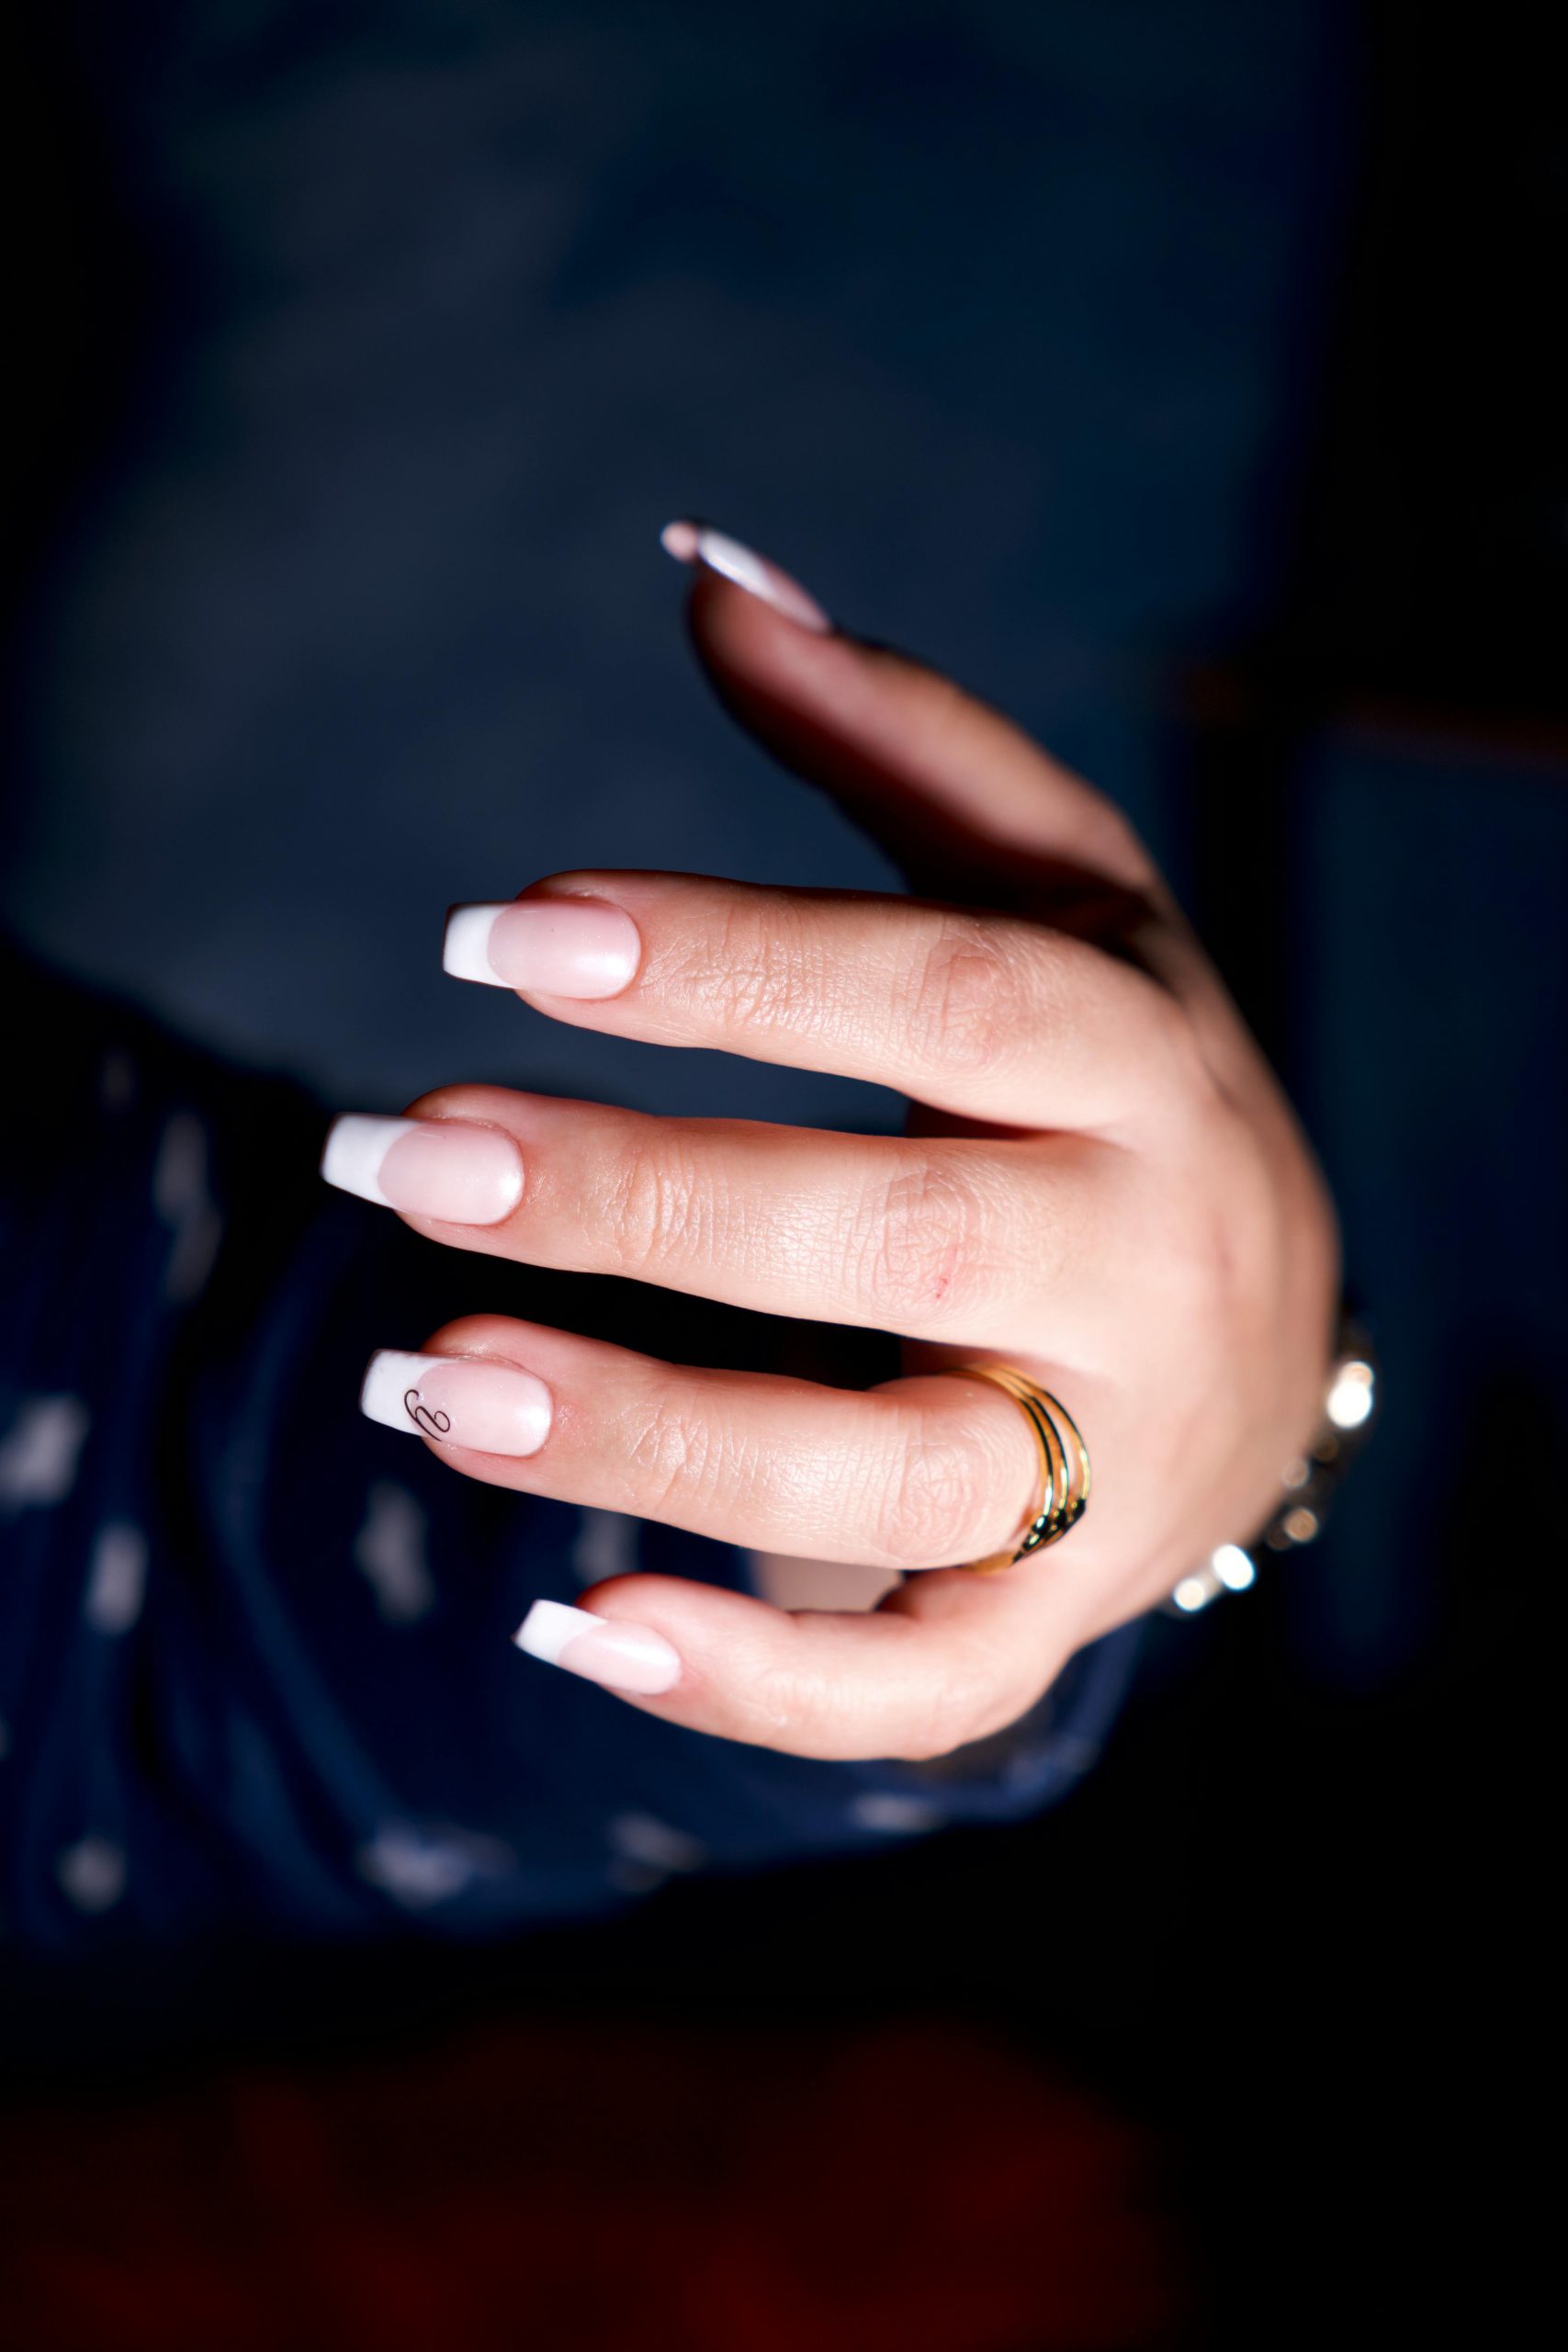
Achieve the ultimate in understated elegance with micro French nails. This modern twist on a classic style features a natural base and thin, delicate tips for a subtle yet sophisticated look. The key is in the precision and attention to detail, creating a flawless finish that exudes effortless grace.
Essential Tools & Products:
- Nail file
- Nail buffer
- Cuticle oil
- Nail clippers
- Base coat
- Nude or clear polish for the base
- White polish for the tips
- Top coat
- Cotton pads
- Nail polish remover
- Optional: UV lamp for gel polish
Step-by-Step Routine:
- Start by shaping your nails to your desired length. Use a nail file to create a smooth, even surface, focusing on achieving a slightly rounded or square shape.
- Buff the nail surface gently to remove any ridges and create a flawless canvas.
- Apply cuticle oil to soften and moisturize the cuticles, then gently push them back using a cuticle stick.
- Clean your nails with nail polish remover to ensure they are free from any oils or residue.
- Apply a thin layer of base coat to protect your nails and create a smooth base.
- Paint your nails with the nude or clear polish, ensuring an even application. Allow it to dry completely.
- Now, for the French tip: carefully paint a thin white line along the edge of your nail, creating a subtle, delicate tip. You can use nail guides or French tip stickers for precision.
- If you make a mistake, use a small brush or cotton swab dipped in nail polish remover to clean up any errors.
- Once the tips are dry, seal your design with a top coat to add shine and protect your manicure. For a longer-lasting finish, consider using a gel top coat and curing it under a UV lamp.
- Finish by cleaning up any excess polish on the skin around your nails with a cotton pad and nail polish remover.
With these simple steps, you can achieve a micro French nail look that is both classic and contemporary. The thin tips add a touch of sophistication while maintaining a natural and understated elegance.