

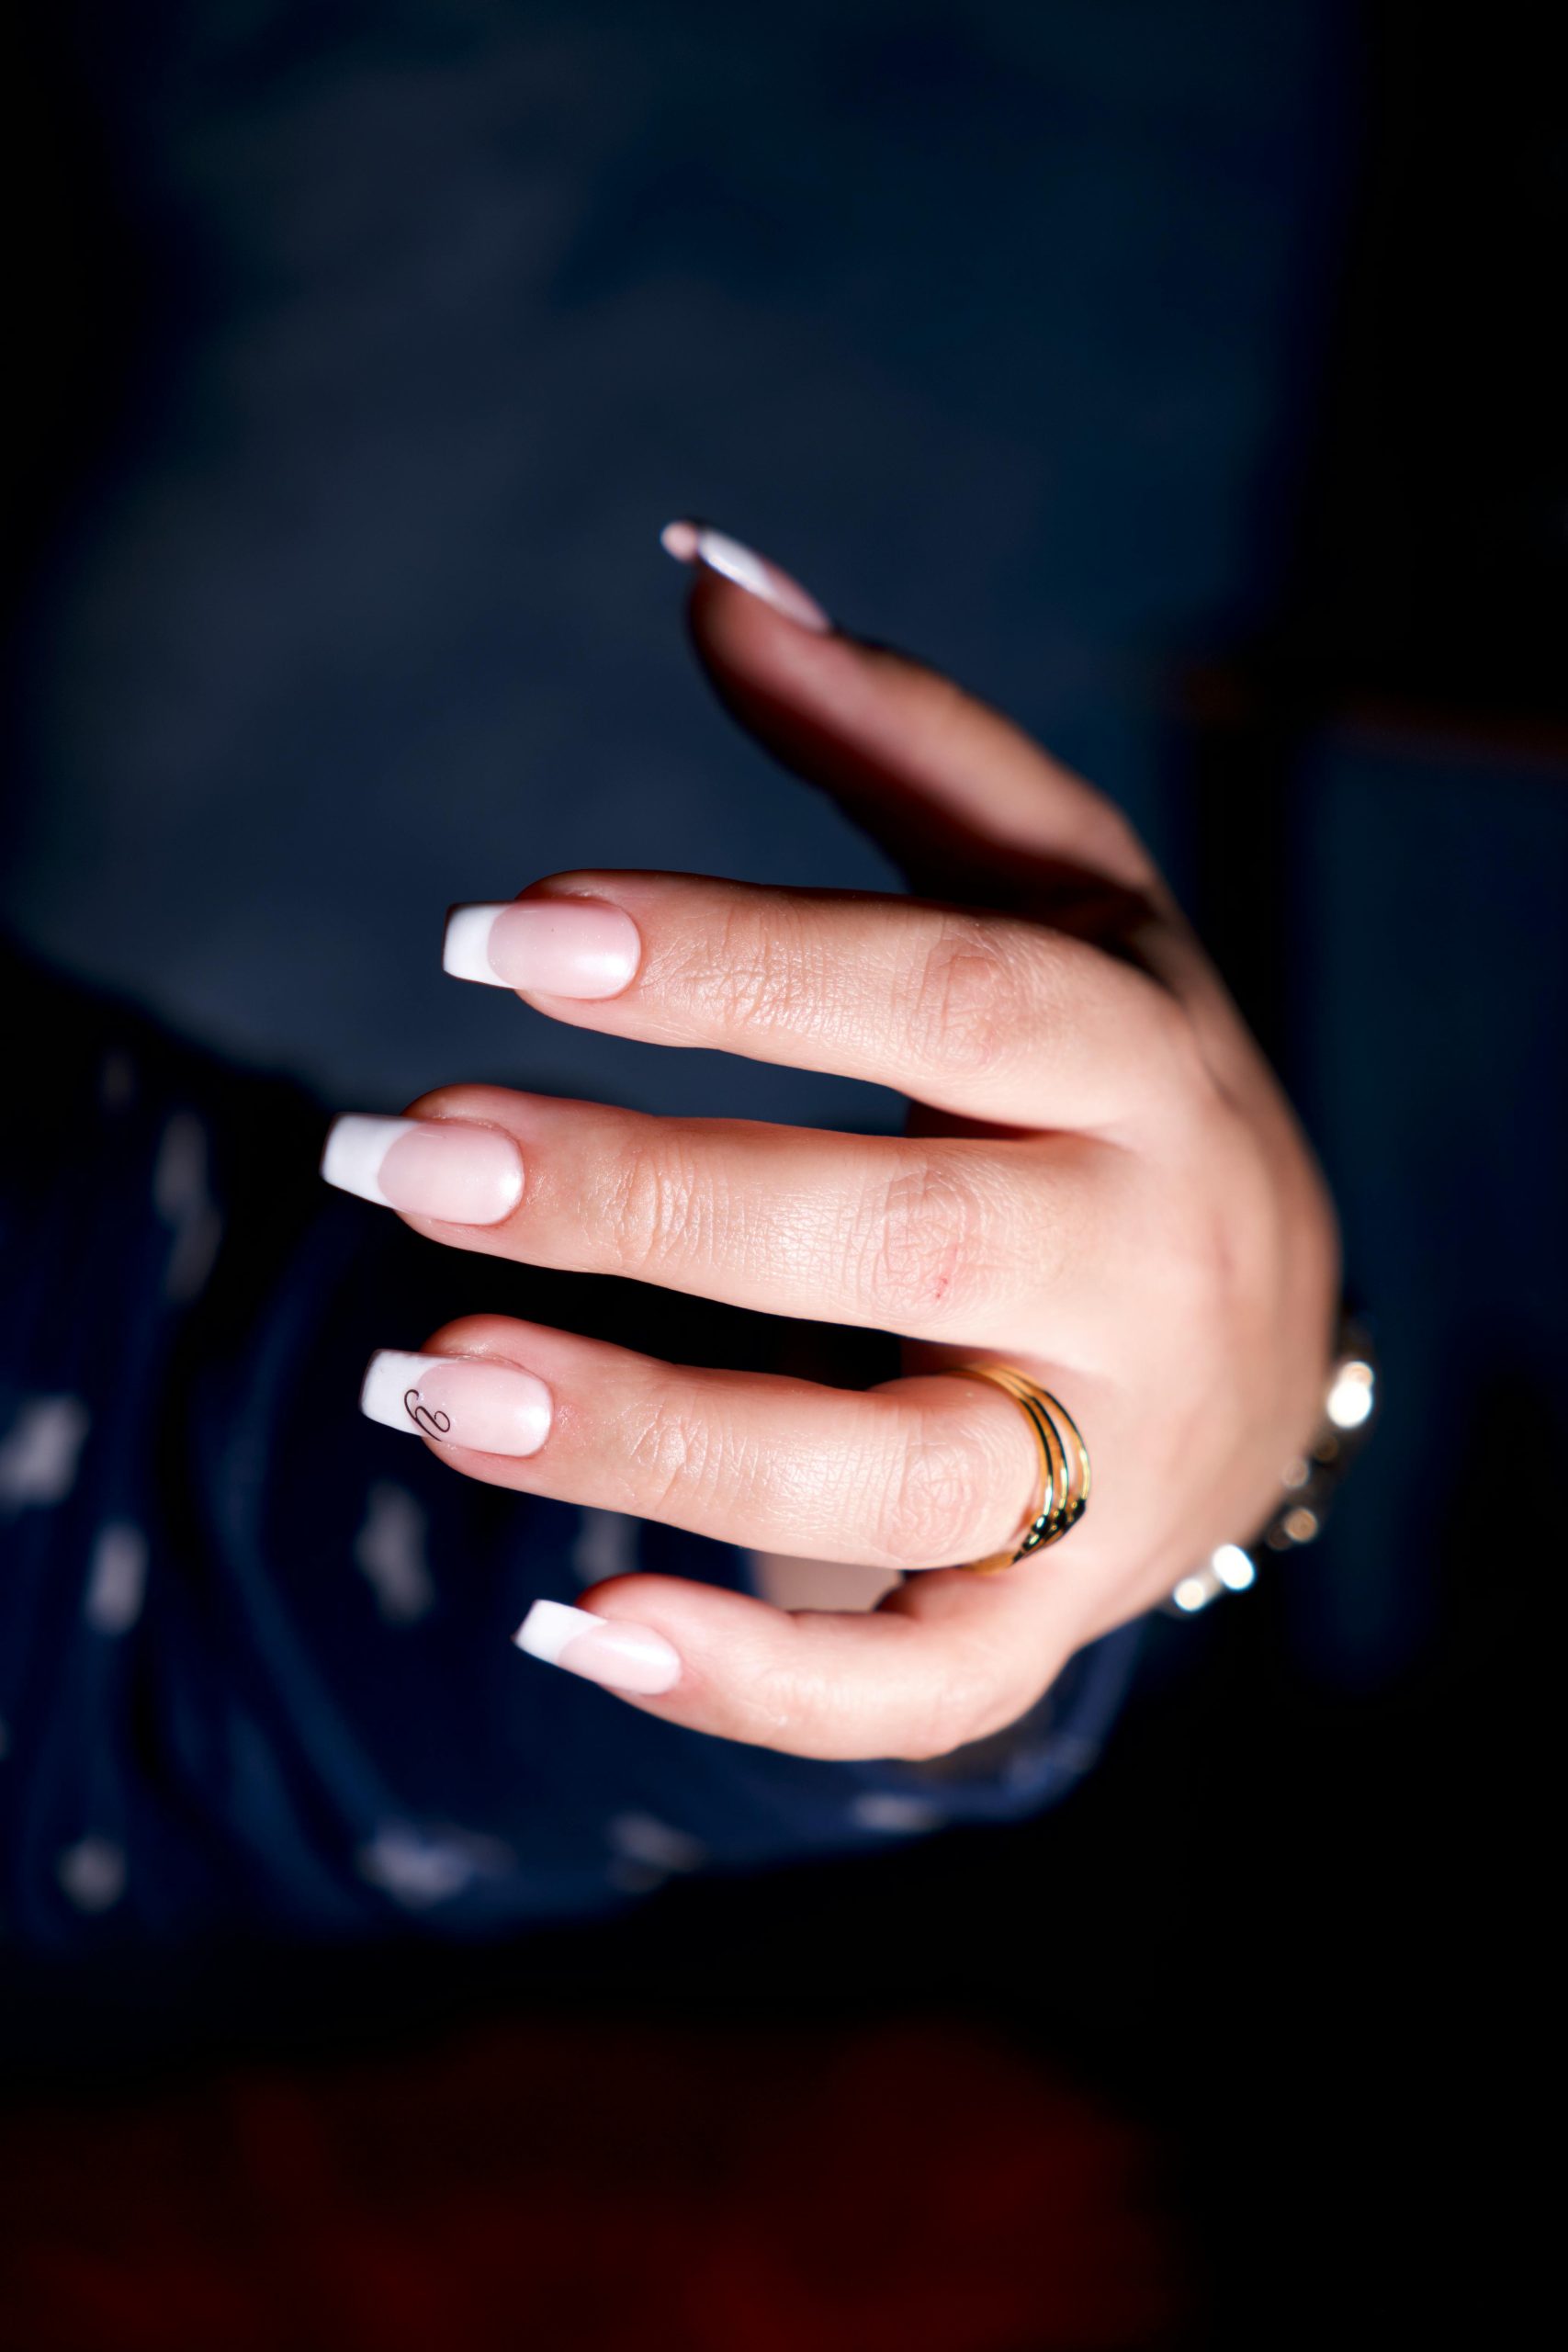
Achieve a sleek and modern look with side-tip nails, a unique twist on the classic French manicure. This style features a vibrant pop of color on the nail’s side, creating an eye-catching effect. Its appeal lies in the clean lines and precise angles, offering a fresh take on nail art while maintaining a polished and elegant appearance.
Essential Tools & Products:
- Nail file
- Nail buffer
- Base coat
- Two contrasting nail polish colors of your choice
- Thin nail art brush
- Top coat
- Cuticle oil
- Cotton pads
- Nail polish remover
- Optional: UV lamp for gel polish
Step-by-Step Routine:
- Start by shaping your nails to your preferred length and style. File them gently, creating a smooth surface.
- Buff the nails to ensure an even texture.
- Apply a thin layer of base coat to protect the nails and create a smooth canvas.
- Choose your primary nail polish color and paint the entire nail, allowing it to dry completely.
- Select the contrasting color for the side tip. Using the thin nail art brush, carefully paint a diagonal line from the corner of the nail bed to the tip, creating a sharp angle.
- Let the color dry, then add a second coat for a more intense shade.
- Seal your design with a top coat, ensuring a glossy finish and extended wear.
- Once dry, clean up any polish that may have gotten onto your skin with a cotton pad soaked in nail polish remover.
- Finish by applying cuticle oil to moisturize and nourish the nail area.
With these simple steps, you can achieve a professional-looking side-tip nail design at home. The key is precision and patience, allowing each layer to dry before moving on. Experiment with different color combinations to find your unique style.